


Resources

business tips
Clever and Discreet Places to Hide a Joint
Table of Contents
Why Joint Storage Matters: Protection and Discretion
Home Hiding Spots: Everyday Items That Double as Storage
On-the-Go Solutions: Portable and Inconspicuous Options
Travel Considerations: Odor Control and Security
Creative DIY Options: Repurposed Items for Joint Storage
Storage Best Practices for Joint Preservation
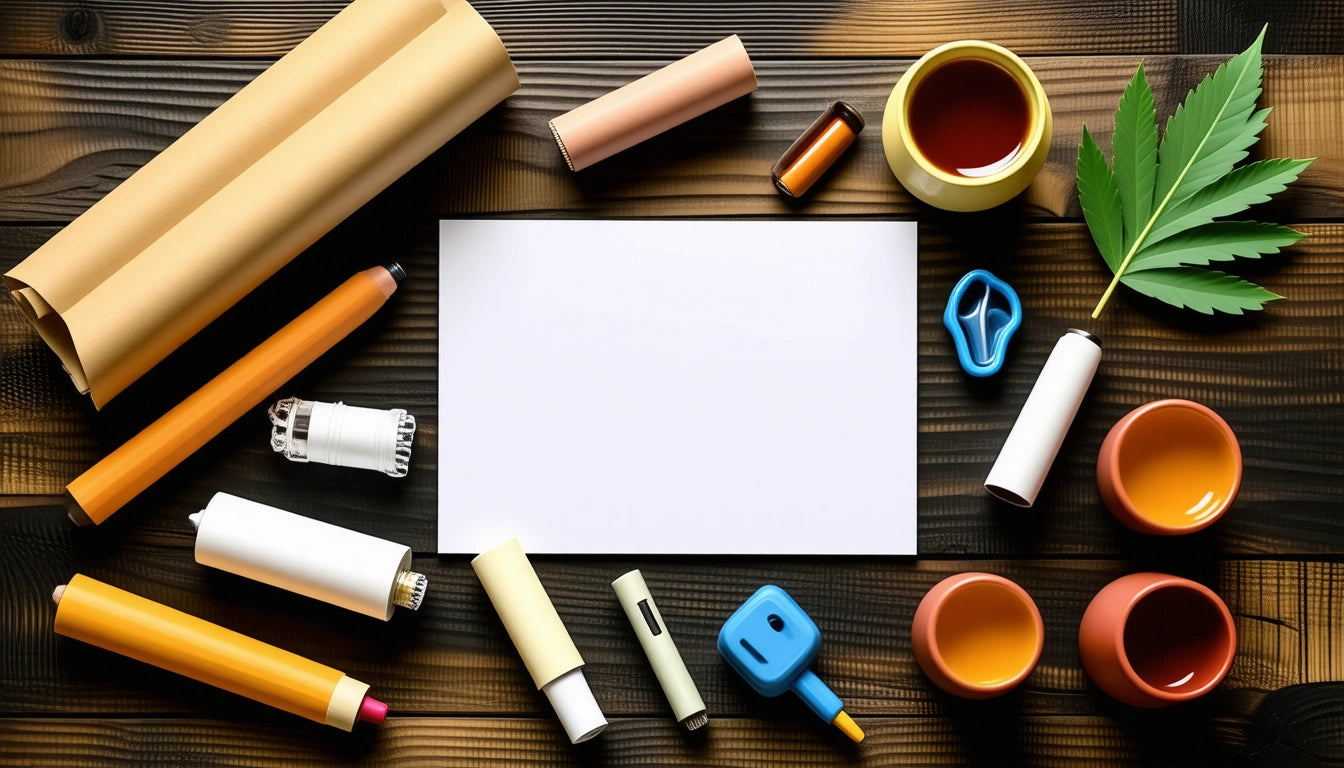
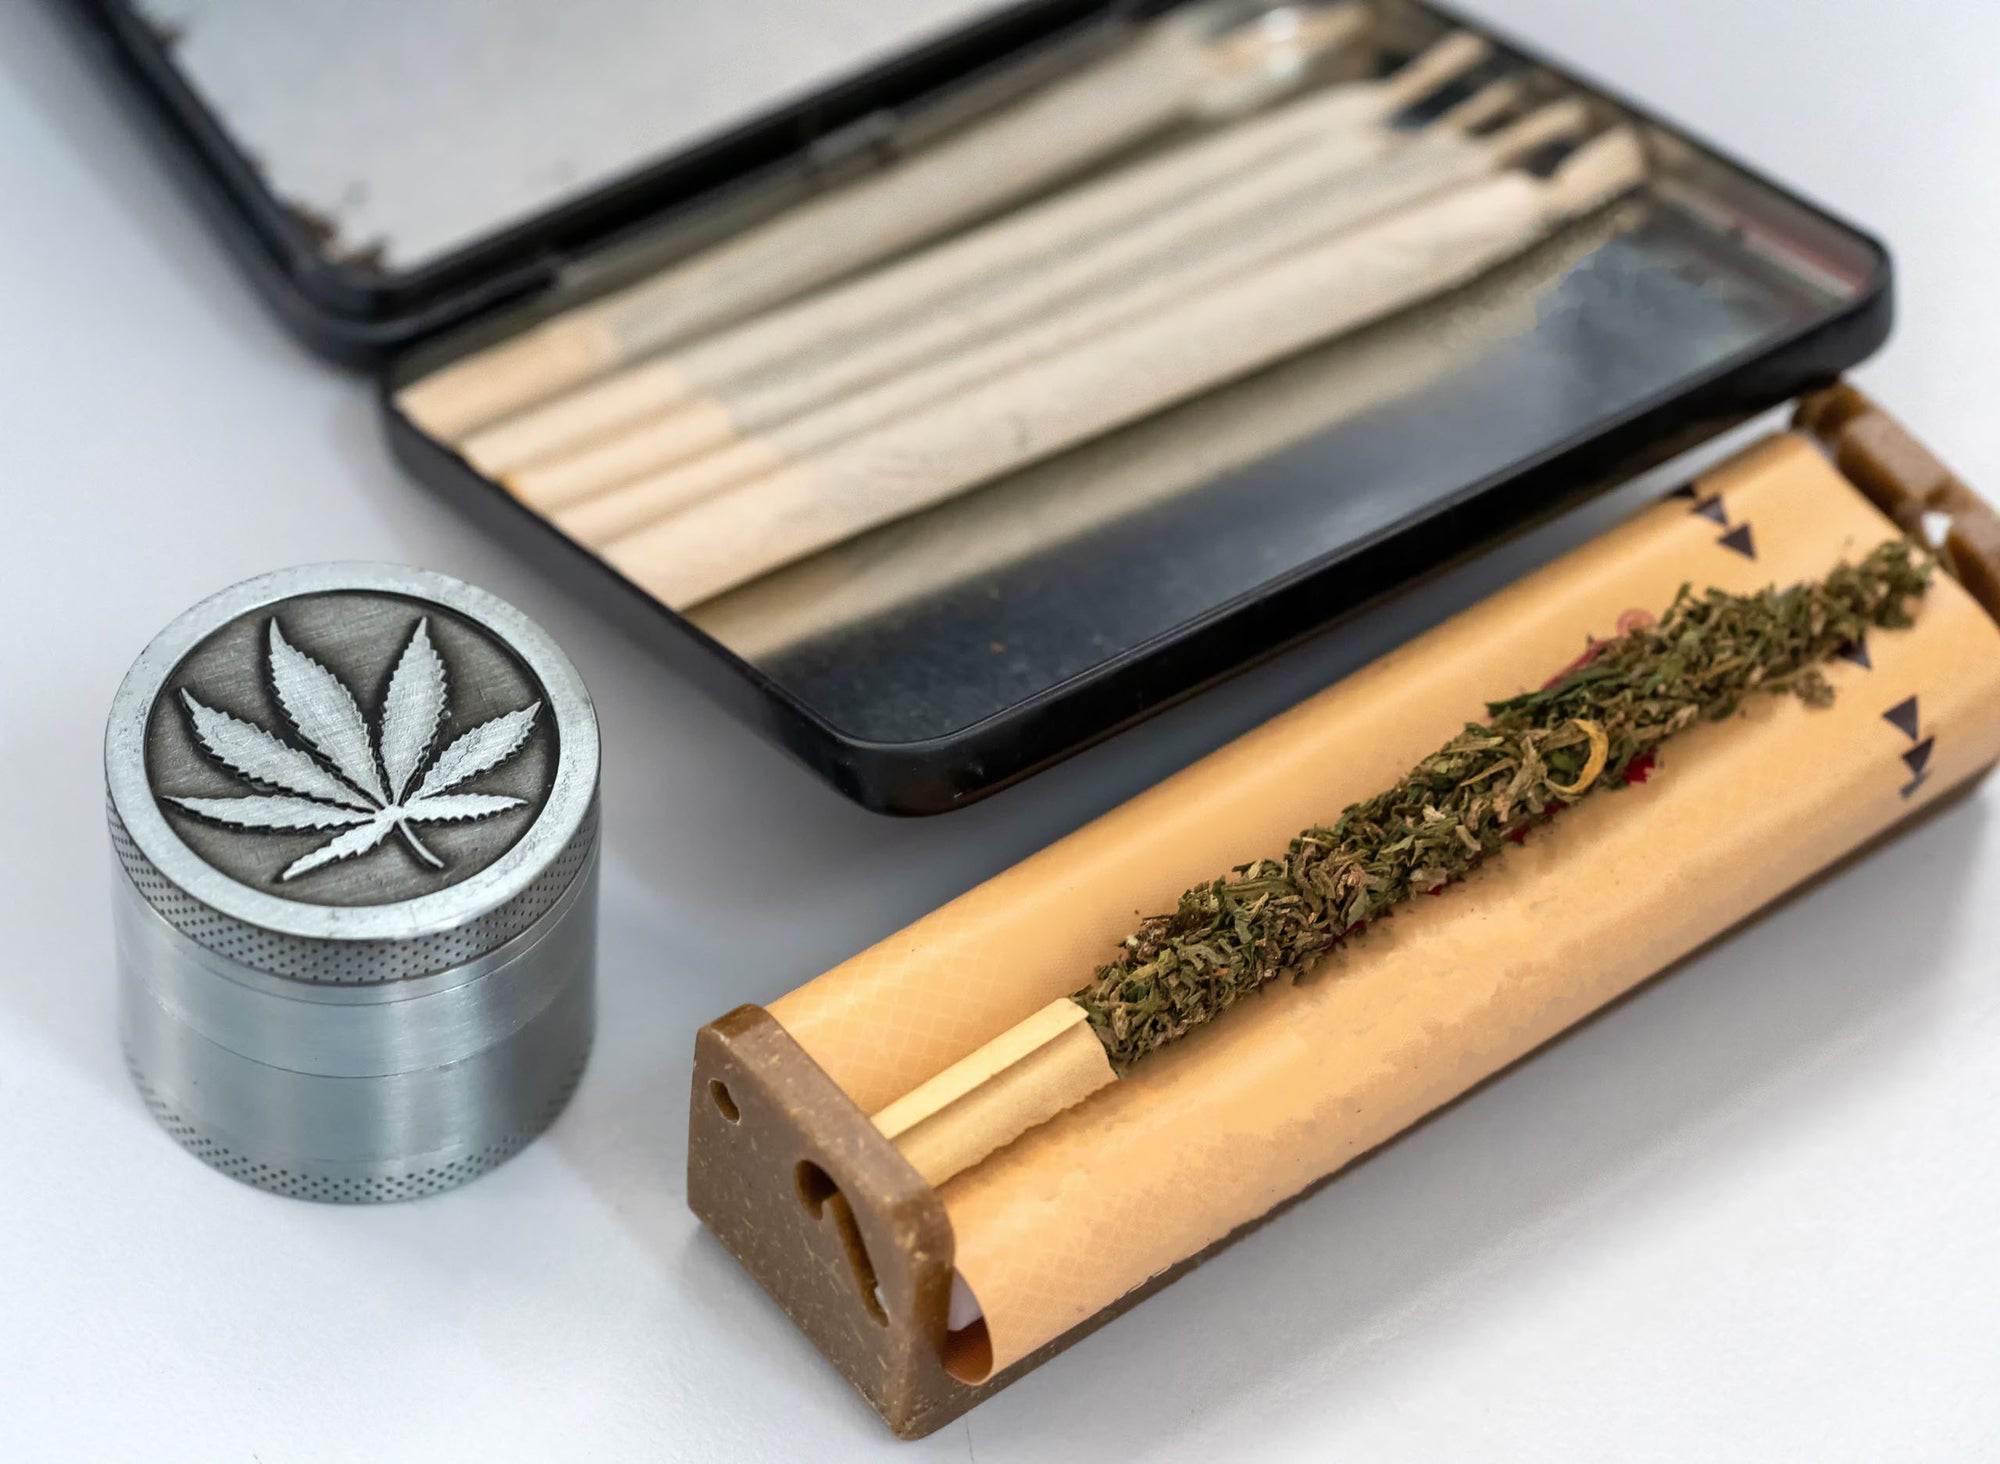
Finding where to hide a joint effectively combines practicality with discretion. Whether you're storing for later use or need to keep your pre-rolls out of sight, the right hiding spot ensures your joints stay fresh, undetected, and ready when you want them. This guide explores creative solutions for home storage, on-the-go concealment, and travel situations.Why Joint Storage Matters: Protection and DiscretionProper joint storage serves two essential purposes: preserving quality and maintaining privacy. Exposure to air, light, and moisture can degrade cannabinoids and terpenes, diminishing potency and flavor. Meanwhile, discretion remains important for many consumers regardless of local legality.According to proper joint storage guidelines, the ideal storage solution protects against crushing, prevents odor leakage, and shields from environmental factors that accelerate degradation.Home Hiding Spots: Everyday Items That Double as StorageHollowed Book StorageA classic hiding spot involves hollowing out a hardcover book. Choose a thick volume unlikely to be picked up by others. Cut a rectangular compartment in the pages using a craft knife, leaving the cover and outer page edges intact. This creates an inconspicuous shelf item that can hold several joints.Electronic Device BoxesMost homes contain empty boxes from electronics like smartphones or headphones. These sturdy containers often feature compartments that perfectly fit joints. Their ubiquity makes them forgettable to curious eyes yet accessible to you.Empty Vitamin or Supplement BottlesOpaque vitamin bottles provide excellent joint protection. Their child-resistant caps and moisture-resistant design make them practical storage options that blend among bathroom or kitchen items. For optimal freshness, consider adding humidity control packets to maintain ideal moisture levels and preserve terpene profiles.On-the-Go Solutions: Portable and Inconspicuous OptionsWhen you need to bring a joint along discreetly, these options offer protection while maintaining a low profile:
Repurposed lip balm tubes (thoroughly cleaned)
Cigarette cases or metal tins
Eyeglass cases with hard shells
Keychain pill containers
Mint tins with secure closures
Each option balances accessibility with discretion, allowing you to carry joints without drawing attention. The best portable solutions also protect against crushing and moisture exposure, preserving joint quality until you're ready to use it.Highlight: When choosing where to hide a joint, prioritize containers that seal completely to contain odors and protect against moisture, which can significantly extend shelf life and maintain potency.Travel Considerations: Odor Control and SecurityTravel situations demand extra attention to odor containment and security. Cannabis has a distinctive smell that can permeate through many materials. Consider these specialized solutions:Smell-Proof BagsPurpose-made smell-proof bags use activated carbon or multiple layers to trap odors completely. These bags come in various sizes and often feature additional security like combination locks.Vacuum-Sealed ContainersSmall vacuum-sealed containers create an airtight environment that prevents odor escape while protecting joints from crushing. Some portable options use a simple push mechanism to create the vacuum seal.When traveling, remember that proper joint handling techniques can minimize odor transfer to your hands and clothing, further reducing detection risk.Creative DIY Options: Repurposed Items for Joint StorageWith some creativity, everyday items can become effective joint hiding spots:Highlighter Pen StashHollow highlighters can be modified by removing the ink reservoir and felt tip. The empty tube perfectly fits a standard joint, and the cap creates an airtight seal. The highlighter continues to look functional on your desk or in a pencil case.False Bottom ContainersCreate false bottoms in containers like coffee cans or food jars. Place a cardboard divider covered with the original product on top, with joints stored securely underneath. This works particularly well for items kept in pantries or kitchen cabinets.Wall Switch or Outlet SafesSpecialized wall safes that look like electrical outlets or light switches can be installed without electrical connections. These provide excellent hiding spots that blend completely with room decor.For any DIY solution, consider how well it addresses the key concerns outlined in joint preservation techniques, particularly protection from light, air, and physical damage.Storage Best Practices for Joint PreservationRegardless of where you hide your joints, following these practices ensures they remain in optimal condition:
Avoid excessive heat, which can degrade cannabinoids
Store away from direct sunlight to prevent terpene degradation
Consider using humidity control packs for long-term storage
Avoid refrigeration, which can introduce damaging moisture
Use containers that won't impart unwanted odors or flavors
The most effective hiding spots incorporate these preservation principles while providing quick access when needed. As noted in comprehensive joint guides, proper storage significantly impacts the smoking experience, preventing issues like uneven burning or canoeing.Whether you choose commercial solutions or creative DIY approaches, the perfect place to hide a joint balances accessibility, discretion, and preservation. By considering your specific needs and environment, you can develop a storage system that keeps your joints in perfect condition until you're ready to enjoy them.

flower
Effective Techniques for Smoking and Preserving a Joint
Table of Contents
Proper Joint Smoking Techniques
How to Put Out a Joint for Later
Troubleshooting Common Joint Issues
Storage Solutions for Preserving Joints
Maximizing Your Joint Experience
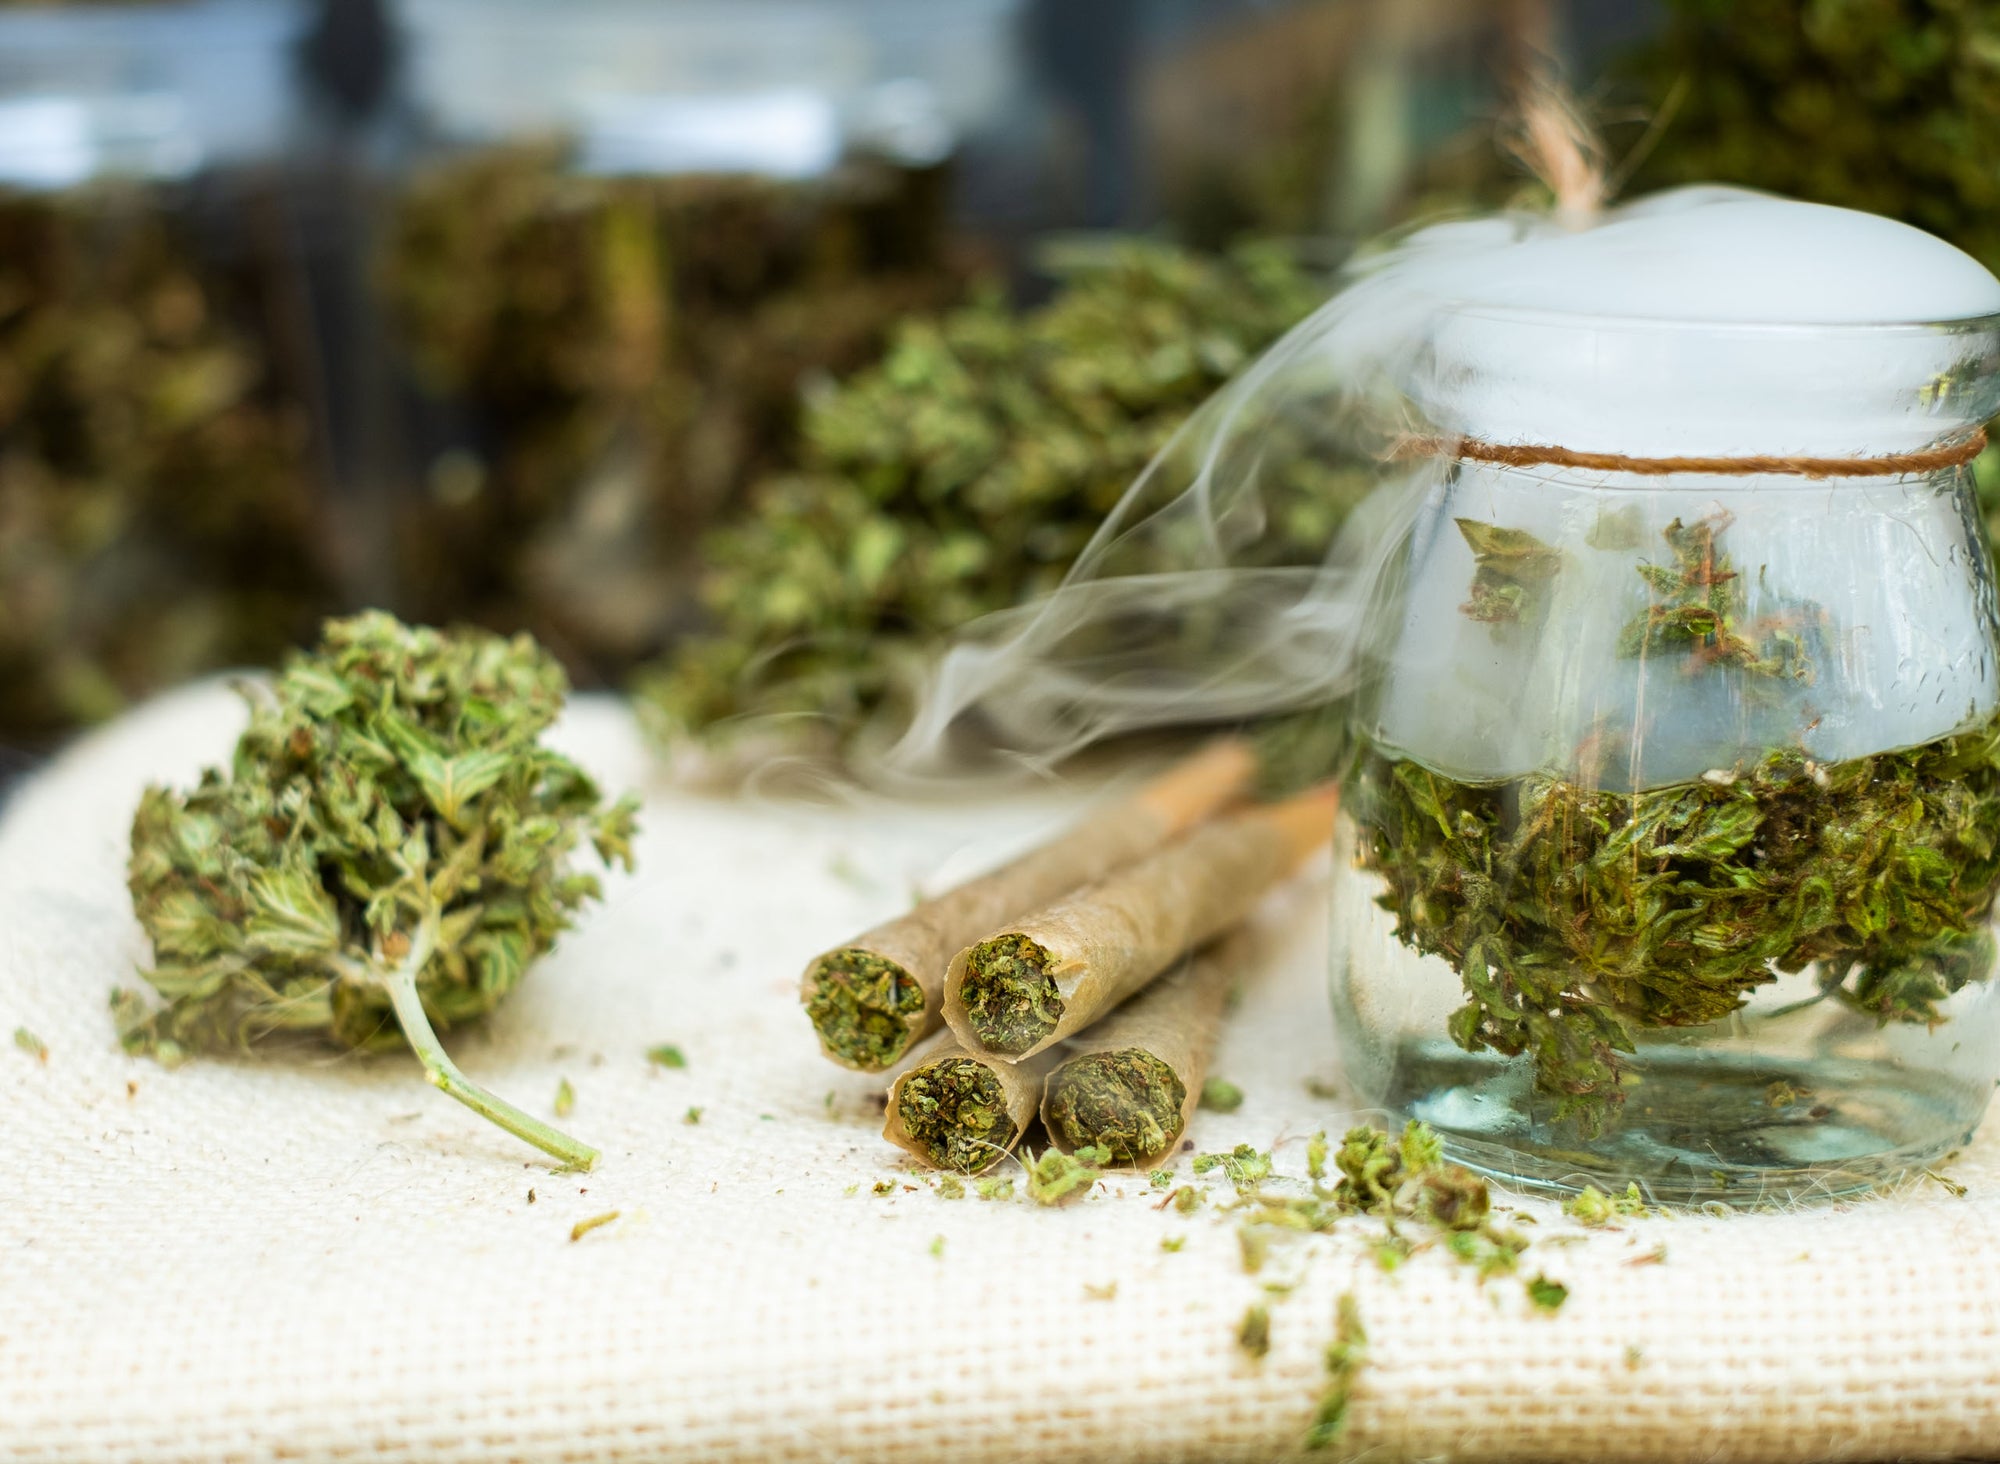
Joints remain one of the most popular and convenient methods of cannabis consumption. Whether you're a seasoned smoker or new to the experience, understanding how to properly smoke, preserve, and troubleshoot joints can significantly enhance your enjoyment and help conserve your cannabis. This guide covers essential techniques for getting the most out of your joints, including how to hit a joint properly, how to put out a joint for later use, and solutions for common problems.Proper Joint Smoking TechniquesSmoking a joint effectively involves more than simply lighting up and inhaling. Proper technique ensures an even burn, better flavor, and a more enjoyable experience overall.How to Hit a Joint ProperlyTo hit a joint effectively, follow these steps:
Hold the joint between your thumb and index finger near the crutch or filter
Bring it to your lips and create a gentle seal, but don't make it wet with saliva
Take a slow, steady pull rather than a sharp inhale
Hold the smoke briefly (2-3 seconds is sufficient) before exhaling
Rotate the joint between hits to promote even burning
According to comprehensive joint smoking guides, proper inhalation technique prevents canoeing (uneven burning) and maximizes the effects of your cannabis.Lighting TechniquesThe way you light your joint affects how it burns throughout your session:
Toast the tip evenly by rotating it above the flame, not directly in it
Once toasted, take gentle pulls while continuing to rotate
Avoid using torch lighters which can burn too hot
If using hemp wick, light it first, then use it to light your joint for a cleaner taste
These techniques help establish an even cherry (the burning ember at the tip) that will lead to a smoother smoking experience.Highlight: When hitting a joint, gentle, consistent pulls and proper rotation are key to preventing uneven burning and ensuring maximum enjoyment.How to Put Out a Joint for LaterKnowing how to properly extinguish a joint for later use helps preserve both the cannabis and the flavor profile. Here are the best methods for putting out a joint:The Gentle Tap MethodThis is the most common and effective approach:
Gently tap the burning end against a hard, non-flammable surface
Carefully twist the burnt end to remove loose ash
Continue tapping and twisting until no more embers remain
Check that it's fully extinguished by observing for any smoke
This method preserves most of the joint while minimizing damage to the paper.The Cover MethodFor those looking for the best way to put out a joint with minimal damage:
Place the burning end against a metal surface
Cover it with a small metal container or ashtray to cut off oxygen
Wait 30-60 seconds for it to naturally extinguish
Check that it's fully out before storage
This approach is gentler than the tapping method and helps preserve more of the joint's structure.For precise measurement of how much cannabis remains in your partially used joint, accurate digital scales can be helpful for tracking consumption and ensuring you're getting the most value from your products.Troubleshooting Common Joint IssuesEven well-rolled joints can present problems. Here are solutions to common issues:Why Is My Joint Not Pulling?Poor airflow is a common complaint. If your joint is not pulling properly, consider these causes and solutions:
Overpacking: The cannabis may be too tightly packed. Try gently rolling the joint between your fingers to loosen the contents
Clogged filter: Small particles may be blocking the filter. Try clearing it with a thin tool or replacing it if possible
Collapsed paper: The rolling paper may have folded or creased. Sometimes this requires rerolling
Moisture issues: Damp cannabis can restrict airflow. Always ensure your flower is properly cured
According to expert rolling guides, proper grinding consistency and even distribution are key to preventing airflow issues.Fixing Uneven BurnsIf your joint is burning unevenly (canoeing):
Wet your finger slightly and dampen the faster-burning side
Rotate the joint so the faster-burning side is on the bottom
Take slower, more deliberate pulls
If necessary, relight the joint focusing on the unlit portions
Properly closing a joint during rolling can help prevent these issues before they start.Storage Solutions for Preserving JointsAfter learning how to put a joint out, proper storage becomes essential for maintaining freshness and potency.Short-Term Storage OptionsFor joints you plan to consume within a few days:
Doob tubes: Plastic or glass tubes designed specifically for joints
Repurposed containers: Small mint tins or prescription bottles can work in a pinch
Joint cases: Specialized cases with individual slots for multiple joints
Proper joint storage techniques emphasize protection from air, light, and physical damage.Long-Term PreservationFor extended storage periods:
Use airtight containers with humidity control packs
Store in a cool, dark place away from direct sunlight
Consider vacuum-sealed options for maximum freshness
Label with dates to track freshness
These methods help preserve terpenes and cannabinoids, maintaining the quality of your joints over time.Maximizing Your Joint ExperienceBeyond the basics of how to hit a joint and how to turn off a joint, there are additional techniques to enhance your overall experience:
Proper grinding: Consistent, medium-fine grinding provides optimal burning
Quality papers: Invest in slow-burning, thin papers for better flavor
Humidity control: Too dry cannabis burns too quickly, while too moist cannabis burns poorly
Mindful consumption: Take breaks between hits to gauge effects and prevent waste
According to advanced rolling technique guides, these small adjustments can significantly improve your joint experience.Whether you're learning how to close a joint properly during rolling or figuring out the best way to put out a joint for later enjoyment, these techniques will help you get the most from your cannabis. With practice, proper joint handling becomes second nature, allowing you to focus on enjoying the experience rather than troubleshooting problems.
flower
Creative Alternatives and Tips for Rolling a Joint Without a Filter
Table of Contents
Understanding Joint Filters: Purpose and Function
Filterless Rolling: Techniques and Considerations
Alternative Materials for Rolling Joints
Household Items You Can Use to Roll Joints
Measuring Cannabis Without Traditional Tools
Expert Tips for Successful Filterless Joints
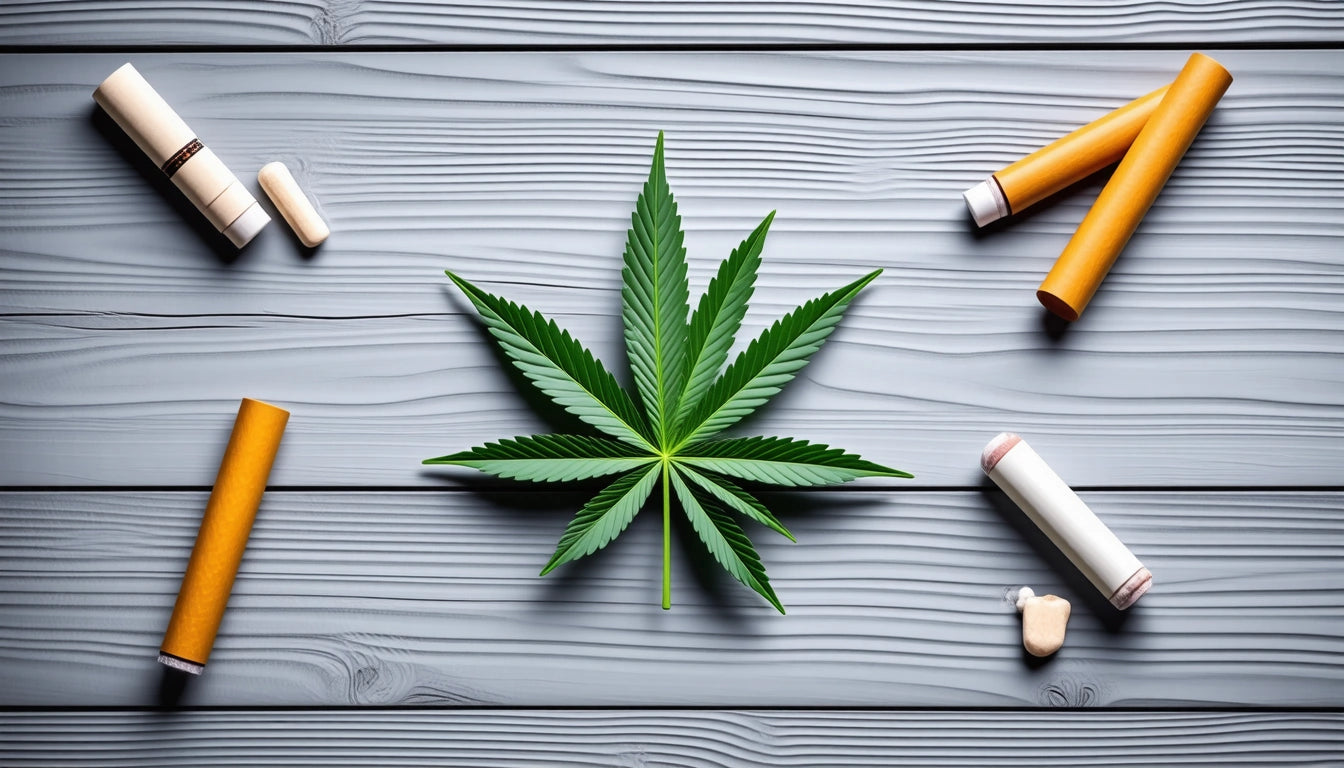
Whether you've run out of filters or simply prefer to explore different ways to roll a joint, rolling without a traditional filter offers both challenges and creative opportunities. This guide explores what you can roll a joint with when traditional supplies are unavailable and provides practical techniques for filterless rolling.Understanding Joint Filters: Purpose and FunctionBefore diving into alternatives, it's important to understand what joint filters do. Traditional filters, also called crutches or tips, serve several purposes:
Prevent cannabis from entering your mouth
Provide structural support for the joint
Allow better airflow
Keep fingers from burning as the joint burns down
Maximize consumption of cannabis
While traditional rolling techniques typically include filters, going filterless is entirely possible with the right approach.Filterless Rolling: Techniques and ConsiderationsCan you roll a joint without a filter? Absolutely. In fact, before filters became commonplace, this was the standard approach. When rolling without a filter:The Pinch MethodOne effective technique is the pinch method, where you slightly twist and pinch the end of the joint that would normally hold the filter. This creates a natural restriction that prevents herb from falling out while still allowing airflow.The Fold-Over TechniqueAnother approach is to fold over the paper at the end where you would normally place a filter. This creates a thicker area that provides some of the structural benefits of a filter without requiring additional materials.As noted in this beginner's guide, filterless joints require more careful handling during smoking to prevent burning your fingers as the joint burns down.Highlight: Filterless joints often provide a more direct flavor experience but require careful rolling technique and attentive smoking to prevent waste.Alternative Materials for Rolling JointsWhen considering what to roll a joint with beyond traditional rolling papers, several alternatives exist:Natural Alternatives
Corn husks (dried and cleaned)
Rose petals (baked briefly to dry)
Thin rolling paper alternatives
Hemp wraps
Paper Alternatives
Bible pages (unprinted, typically from the back)
Receipt paper (though not recommended due to chemicals)
Thin notebook paper (remove any lines if possible)
As explained in this guide on alternative rolling techniques, the key is finding materials that are thin enough to burn properly but sturdy enough to hold your cannabis.Household Items You Can Use to Roll JointsIf you're wondering what you can use to roll a joint from around your house, several options exist:Food-Based Wrappers
Corn husks (dried)
Seaweed papers (nori)
Rice paper (from the kitchen, not art supplies)
Paper Products
Gum wrappers (with foil carefully removed)
Cigarette papers (emptied of tobacco)
Thin tissue paper
Remember that any alternative should be free of toxic inks, chemicals, or treatments that could be harmful when burned. Safety should always be your priority when exploring what can you roll a joint with from household items.Measuring Cannabis Without Traditional ToolsProper measurement is crucial for rolling a good joint, with or without a filter. While dedicated digital scales for accurate cannabis measurement are ideal, you can improvise when necessary:
Coin comparison: A U.S. nickel weighs about 5 grams
Visual estimation: With practice, you can estimate amounts by sight
DIY balance scale: Create a simple balance using household items
Consistent measurement helps you understand how many joints you can roll with your cannabis supply, making your stash last longer.Expert Tips for Successful Filterless JointsTo perfect your filterless rolling technique, consider these advanced tips:Preventing CloggingWithout a filter, joints can become clogged more easily. Grind your cannabis consistently but not too finely to maintain proper airflow throughout the smoking experience.Managing the BurnFilterless joints may burn unevenly. After rolling, gently roll the joint between your fingers to ensure even distribution of cannabis. This helps create a more consistent burn from start to finish.Improvised HoldersAs the joint burns down, you'll need a way to hold it without burning your fingers. Small clips, tweezers, or even a paperclip bent into shape can serve as improvised holders for the final portion of your joint.With practice, you'll develop your own preferred techniques for what to roll a joint with and how to handle filterless smoking. The art of smoking and preserving joints is as much about personal preference as it is about technique.Whether you're exploring different ways to roll a joint out of necessity or curiosity, these alternatives and techniques will help you enjoy your cannabis even when traditional supplies aren't available. Remember that practice makes perfect, and don't be discouraged if your first few filterless joints aren't masterpieces. With time, you'll develop the skills to roll excellent joints with or without filters, using whatever materials you have on hand.

flower
The Ultimate Guide to Rolling Joints: Tips and Techniques for Every Style
Table of Contents
Essential Supplies for Rolling the Perfect Joint
Basic Joint Rolling Technique for Beginners
Using Rolling Tools: Joint Rollers and Rolling Trays
Advanced Rolling Techniques for Experienced Users
Rolling Without Filters: Tips and Alternatives
Troubleshooting Common Rolling Issues
Mastering the Art of Joint Rolling: Practice and Patience
Rolling the perfect joint is a skill that combines technique, patience, and practice. Whether you're a beginner learning how to roll a joint for the first time or an experienced roller looking to perfect your craft, this comprehensive guide covers everything from basic techniques to advanced styles and troubleshooting tips.Essential Supplies for Rolling the Perfect JointBefore learning how to roll a joint, gather these essential supplies:
Quality cannabis flower (ground evenly)
Rolling papers (hemp, rice, or flavored)
Filter tips or crutches
Grinder
Rolling tray to catch loose material
Accurate digital scale for precise dosing
Poker tool for packing (optional)
The quality of your supplies directly impacts your rolling experience. For beginners, slightly thicker papers like hemp provide more forgiveness during the learning process. Having a dedicated rolling tray helps contain your workspace and prevents waste.Basic Joint Rolling Technique for BeginnersIf you're wondering how to roll a easy joint, follow these steps:Step 1: Prepare Your MaterialGrind your cannabis to a medium consistency. Too fine and it might burn too quickly; too coarse and it won't burn evenly. Proper preparation is crucial for a smooth-burning joint.Step 2: Create Your FilterFold a small piece of filter paper or thin cardboard in an accordion pattern, then roll it to form a cylinder. This creates the crutch or tip that provides structure and prevents plant material from entering your mouth.Step 3: Fill and Shape Your PaperPlace the filter at one end of the paper with the gummed edge facing up and away from you. Distribute your ground cannabis evenly along the crease of the paper. Use your fingers to shape the material into a cylinder.Step 4: Roll and TuckHold the paper between your thumbs and forefingers. Roll it back and forth to compact the cannabis into a cylinder shape. Once shaped, tuck the non-gummed edge of the paper over the cannabis and behind the filter.Step 5: Seal and FinishLick the gummed edge, then roll upward to seal the joint. Twist the excess paper at the end to prevent spillage. For those learning how to roll joints tighter, use a pen or similar tool to gently pack down the cannabis from the open end.Highlight: Consistent practice is key to mastering how to roll a joint. Don't be discouraged if your first attempts aren't perfect. Focus on even distribution and proper tucking technique.Using Rolling Tools: Joint Rollers and Rolling TraysFor those wondering how to roll a joint with a roller or how to roll a joint with a joint roller, these devices can significantly simplify the process:Joint Roller MachinesThese plastic devices create perfectly cylindrical joints with minimal effort:
Open the roller and place a paper in the groove with the gummed edge facing you
Add your filter to one end
Distribute ground cannabis evenly
Close the roller and roll forward several times
Insert the gummed edge and continue rolling to seal
Joint rollers are perfect for beginners or those with dexterity issues who still want to enjoy freshly rolled joints.Blazy Susan Rolling TraysLearning how to roll a joint Blazy Susan style involves using their specialized pink rolling trays with built-in compartments and non-stick surfaces. These trays help organize your materials and provide a clean workspace for more efficient rolling.Advanced Rolling Techniques for Experienced UsersOnce you've mastered the basics, you might want to explore how to roll a fat joint or how to roll cool joint variations:The Cone JointA cone joint is wider at the lighting end and tapers toward the filter. This style provides a substantial first hit and a gradual decrease in intensity. The technique involves distributing more material toward the lighting end while maintaining the same rolling technique.Cross Joints and Specialty ShapesFor those interested in how to roll cool joint designs, cross joints and other artistic variations require multiple papers and precise hole-poking techniques. These are best attempted after mastering basic rolling skills.Rolling Without Filters: Tips and AlternativesIf you're interested in how to roll a joint without a tip or traditional filter, there are several approaches:
Use a small piece of thick paper folded several times
Create a spiral from business card material
Roll a tighter end to serve as a natural filter
Learning how to roll a joint without traditional filter materials can be useful in situations where proper supplies aren't available.Troubleshooting Common Rolling IssuesEven experienced rollers encounter challenges. Here are solutions to common problems:For Loose JointsIf you're struggling with how to roll joints tighter:
Use slightly more cannabis
Practice the tucking motion with more precision
Pack the joint after rolling using a thin tool
Ensure your material is properly ground
For Uneven Burning (Canoeing)Uneven burning often results from:
Inconsistent grinding
Air pockets in the joint
Uneven material distribution
To prevent this, ensure even distribution and proper packing. For how to roll a small joint that burns evenly, pay extra attention to consistent density throughout.Paper TearingWhen learning how to roll a joint without a rolling machine, paper tearing is common. Solutions include:
Using less moisture when licking the gummed edge
Handling papers with dry fingers
Choosing slightly thicker papers for practice
Mastering the Art of Joint Rolling: Practice and PatienceBecoming proficient at rolling joints takes time and practice. Each person develops their own style and preferences. The key is consistency and finding what works for your hands and smoking preferences.Remember that rolling is both functional and artistic. Many enthusiasts take pride in their rolling skills, seeing it as part of the ritual and experience of cannabis consumption. With the techniques covered in this guide and plenty of practice, you'll be rolling perfect joints suited to your preferences in no time.Whether you prefer learning how to roll a fat joint for sharing or how to roll a small joint for personal use, the fundamental techniques remain the same. Focus on even distribution, proper tucking, and consistent practice to develop this valuable skill.

branding
Exploring the Diverse World of RAW Papers: Types, Tips, and Flavors
Table of Contents
Understanding RAW Papers: Origins and Philosophy
Types of RAW Papers: Finding Your Perfect Match
RAW Black Papers: Premium Ultra-Thin Option
Flavored RAW Papers: Myth vs. Reality
RAW Papers with Tips: Convenience in One Package
Rolling Techniques for RAW Papers
Essential Accessories and Tools for RAW Paper Users
The Future of Rolling: Innovations in the RAW Paper Ecosystem
Exploring the Diverse World of RAW Papers: Types, Tips, and FlavorsRAW papers have revolutionized the rolling experience with their commitment to natural, unrefined materials and innovative designs. Whether you're new to rolling or a seasoned enthusiast, understanding the nuances between RAW paper varieties can significantly enhance your experience. This comprehensive guide explores the complete RAW lineup, from classic to black RAW papers, along with essential tips and techniques.Understanding RAW Papers: Origins and PhilosophyRAW rolling papers stand out in the market for their dedication to purity and sustainability. Unlike conventional papers, RAW papers are unbleached, unrefined, and free from additives. The brand's philosophy centers around creating products that are as natural as possible while maintaining superior functionality.According to our comprehensive guide on RAW paper composition, these papers are made from natural plant fibers, primarily hemp, flax, and rice. This composition contributes to their characteristic light brown color and thin texture that many users prefer for a cleaner smoking experience.Types of RAW Papers: Finding Your Perfect MatchRAW Classic PapersRAW paper classic varieties represent the original lineup that built the brand's reputation. These papers feature a light tan color and are made from unbleached, natural fibers. They offer a balanced experience with moderate thickness and a natural gum line derived from plants.The classic line comes in various sizes including:
Single Wide (70mm x 37mm)
1 ¼ Size (79mm x 45mm)
King Size (110mm x 53mm)
King Size Slim (110mm x 45mm)
For those seeking more detailed information about the different types and their specific uses, our ultimate guide to RAW rolling papers provides comprehensive insights.RAW Organic Hemp PapersThe Organic Hemp line features papers made exclusively from organically grown hemp. These papers have gained popularity among health-conscious users concerned about paper safety and organic credentials. They burn slightly slower than the classic variety and provide a very subtle sweet taste.Highlight: All authentic RAW papers feature the brand's patented criss-cross watermark and natural gum line, which help distinguish them from counterfeits.RAW Black Papers: Premium Ultra-Thin OptionBlack RAW paper represents the brand's ultra-thin premium line. At just 20 microns thick, these papers are among the thinnest on the market, designed to provide minimal paper presence for a purer experience. The black designation refers to the product line, not the color of the papers themselves, which maintain RAW's signature unbleached appearance.Many enthusiasts choose RAW black papers for their:
Ultra-thin profile for less paper taste
Slower burn rate
Enhanced flavor preservation
Premium rolling experience
For an in-depth analysis of these premium papers, including user experiences and comparisons, check out our detailed review of RAW black rolling papers.Flavored RAW Papers: Myth vs. RealityContrary to popular belief, authentic RAW does not produce flavored RAW papers. The brand stays true to its natural philosophy by avoiding artificial flavors or additives. What some users might perceive as flavored options are actually papers from other brands or counterfeit products.For those interested in flavored alternatives, there are legitimate flavored papers on the market from other manufacturers. However, it's important to recognize that pink RAW papers and other colored varieties claiming to be flavored RAW products are not authentic brand offerings.RAW Papers with Tips: Convenience in One PackageRAW paper with tips products offer an all-in-one solution for rollers. These convenient packages include both papers and filter tips, eliminating the need to purchase them separately. The RAW tips are made from the same unbleached, natural materials as their papers, maintaining consistency in quality and philosophy.Popular RAW papers with tips options include:
RAW Classic Connoisseur with Tips
RAW Black with Tips
RAW Organic Hemp with Tips
These combination packs are especially convenient for on-the-go use and beginners who are learning to roll with proper filtration.Rolling Techniques for RAW PapersMastering the art of rolling with RAW papers requires practice and technique. The thin nature of these papers, especially the black variety, can present a learning curve for beginners. Our guide on rolling techniques provides detailed instructions for achieving the perfect roll.Key tips for successful rolling include:
Use the right amount of material (not too much, not too little)
Distribute the material evenly across the paper
Tuck the paper gently but firmly when rolling
Use RAW tips for structural support and better airflow
Consider using a quality rolling tray to keep your workspace organized and prevent material loss
Essential Accessories and Tools for RAW Paper UsersThe RAW ecosystem extends beyond just papers to include a variety of accessories that enhance the rolling experience. These complementary products work seamlessly with RAW papers to provide a complete solution.Popular accessories include:
RAW rolling trays for material preparation
RAW rolling machines for consistent results
RAW filter tips in various sizes
RAW parchment paper for storage and preparation
RAW hemp wick as an alternative lighting method
For those looking to streamline their rolling process, pre-rolled RAW cones offer a convenient alternative that maintains the quality and experience of traditional RAW papers without requiring rolling skills.The Future of Rolling: Innovations in the RAW Paper EcosystemRAW continues to innovate within the rolling paper space, introducing new products that address evolving consumer needs while maintaining their commitment to natural materials. Recent developments include RAW paperless alternatives like hemp wraps, expanded organic offerings, and more sustainable packaging options.As the market evolves, we can expect to see continued emphasis on sustainability, with biodegradable packaging and responsibly sourced materials becoming increasingly important. The brand's focus on education about proper rolling techniques and authentic product identification also represents a positive trend in consumer awareness.For those looking to stay current with the latest RAW paper innovations and techniques, regularly checking our updated guides on RAW products will provide the most current information on new releases and best practices.
flower
Step-by-Step Guide to Filling Pre-Rolled Cones by Hand
Table of Contents
Materials Needed for Filling Pre-Rolled Cones
Preparation Steps for Perfect Cone Filling
The Proper Filling Technique for RAW Cones
Packing Methods for Even Burning
Troubleshooting Common Issues When Filling Cones
Finishing Touches for Professional-Looking Pre-Rolls
Expert Tips for Consistently Perfect Hand-Filled Cones
Mastering how to fill a cone pre roll by hand is an essential skill for both personal enjoyment and small-scale production. Pre-rolled cones offer convenience while still allowing for customization of your smoking experience. This comprehensive guide walks through every step of filling cones properly, ensuring even burns and satisfying sessions.Materials Needed for Filling Pre-Rolled ConesBefore learning how to fill RAW cones or any pre-rolled cone, gather these essential supplies:
Pre-rolled cones (RAW, Elements, or your preferred brand)
Ground flower material
Grinder (manual or electric)
Packing tool (often included with cone purchases)
Small funnel (optional but helpful)
Clean, flat work surface
Small container to hold ground material
Quality grinding equipment makes a significant difference in how evenly your cones will burn. For consistent results, many producers use commercial-grade grinder machines that produce uniformly ground material, though a good hand grinder works well for personal use.Preparation Steps for Perfect Cone FillingGrinding Your MaterialThe consistency of your ground material directly impacts how well your cone burns. When learning how to fill a cone pre roll by hand, proper grinding is crucial:
Aim for a medium grind, not too fine or too coarse
Remove any stems or seeds before grinding
Grind in small batches for consistency
Allow freshly ground material to air for a few minutes (prevents moisture issues)
As detailed in this guide on mastering cone packing, proper material preparation sets the foundation for a well-burning cone.The Proper Filling Technique for RAW ConesWhen learning how to fill RAW cones or similar products, the technique matters as much as the material:Step 1: Prepare Your ConeHold your empty cone gently by the filter/crutch end with the open end facing up. Lightly tap or shake it to ensure the paper is fully expanded and ready for filling.Step 2: Create a Filling StationPlace your ground material in a small container that allows easy pinching or scooping. If using a funnel, position it in the cone's open end.Step 3: Begin the FillGradually add material to the cone, either pinching small amounts and dropping them in or using the funnel. As explained in this complete cone filling guide, patience during this step prevents uneven packing.Highlight: When learning how to fill a cone, remember that gentle, incremental filling produces better results than attempting to fill the entire cone at once.Packing Methods for Even BurningProper packing is essential when mastering how to fill cones:The Tap MethodAfter adding a small amount of material, gently tap the cone filter-end down on your work surface. This naturally settles the material without overpacking.The Tool MethodUse the packing tool that often comes with RAW cones to gently press down after adding each small portion of material. When learning how to fill a RAW cone by hand, remember to apply consistent, light pressure.The Progressive PackFor optimal burning, pack the material more loosely near the filter and progressively tighter toward the tip. This technique, recommended in this guide to understanding RAW cones, ensures smooth airflow and even burning.Troubleshooting Common Issues When Filling ConesEven experienced users encounter challenges when learning how to fill pre rolled cones:Canoeing (Uneven Burning)Caused by uneven packing. Solution: Use the packing tool to redistribute material, ensuring no air pockets remain.Too Tight (Restricted Airflow)If you've packed too tightly, gently roll the cone between your fingers to loosen the material slightly.Material SpillageFor those struggling with spillage while learning how to fill a cone, consider investing in a cone-filling station or using specialized cone filling equipment for cleaner results.Finishing Touches for Professional-Looking Pre-RollsOnce you've mastered how to fill RAW cones, these finishing steps create a polished final product:
Gently twist the excess paper at the top to seal
For immediate use, fold rather than twist for easier lighting
Lightly compress the twisted end for storage stability
For presentation, trim any excess paper with scissors
As noted in this guide to pre-rolled cones and accessories, these finishing details make the difference between amateur and professional-looking results.Expert Tips for Consistently Perfect Hand-Filled ConesAfter mastering the basics of how to fill a cone pre roll by hand, these advanced techniques will elevate your results:
Maintain consistent humidity levels for your material (62-65% is ideal)
Consider layering different varieties for custom effects
For production efficiency, prepare all your ground material before starting
Store filled cones in airtight containers to preserve freshness
Practice with different cone sizes to find your preference
Remember that filling pre-rolled cones by hand is both an art and a science. With practice and attention to detail, you'll develop your own signature technique for creating perfectly filled cones every time.
flower
Everything You Need to Know About RAW Cones: Types, Accessories, and Usage
Table of Contents
Understanding RAW Cones: Natural Rolling Papers
Types of RAW Cones: Classic, Black, and Specialty Sizes
RAW Cone Sizes: From 1 ¼ to King Size and Beyond
Packing Tools and Accessories: Making the Most of Your RAW Cones
How to Pack RAW Cones: Manual and Machine Methods
Purchasing Options: Where to Buy RAW Cones
Maximizing Your RAW Cone Experience: Tips for Enthusiasts
Everything You Need to Know About RAW Cones: Types, Accessories, and Usage
RAW cones have revolutionized the smoking experience by offering convenient, pre-rolled options that maintain the brand's commitment to natural, unrefined materials. Whether you're new to RAW products or looking to expand your knowledge, this comprehensive guide covers everything from the various types of RAW cones to the accessories that enhance their use.
Understanding RAW Cones: Natural Rolling Papers
RAW cones are pre-rolled papers made from unbleached, natural materials that are ready to fill with your preferred herbs. The classic RAW cone features the brand's signature tan color and thin texture, offering a clean smoking experience without added chemicals. Each cone comes complete with a filter tip (also called a crutch) already attached, making them ready to pack and enjoy.
What sets RAW products apart is their commitment to natural materials and sustainable practices. The papers are made from unrefined plant fibers and contain no added chalk, bleach, or dyes that might alter the flavor of your smoking material.
Types of RAW Cones: Classic, Black, and Specialty Sizes
RAW Classic Cones
The classic RAW cone is the original offering, made from unbleached natural fibers. These light tan papers are thin yet sturdy, providing a clean burn with minimal paper taste. Classic RAW cones are the most popular choice and come in various sizes to suit different preferences.
RAW Black Cones
For those seeking an even thinner paper, RAW Black cones offer an ultra-thin option. These premium papers are so thin they appear slightly translucent, providing the absolute minimum paper presence for a pure taste experience. The RAW Black line is designed for connoisseurs who want to minimize the paper's influence on flavor.
Specialty Lines
Beyond the standard offerings, RAW produces specialty cones like the Organic Hemp line and limited editions. These specialty products maintain the brand's commitment to natural materials while offering unique characteristics for different preferences.
Highlight: Whether you choose classic RAW cones or the ultra-thin Black variety, all RAW products maintain the brand's commitment to natural, unbleached materials that deliver a clean smoking experience.
RAW Cone Sizes: From 1 ¼ to King Size and Beyond
RAW cones come in multiple sizes to accommodate different needs and preferences:
1 ¼ Size: Perfect for personal use and shorter sessions
King Size: The standard larger option, ideal for sharing
98 Special RAW Cones: A unique 98mm length that offers a middle ground between standard sizes
XL RAW Cone: Extra-large options for extended sessions or larger groups
Peacemaker: The massive 2-foot long cone for special occasions
The variety of sizes available ensures there's a perfect RAW cone for every situation, whether you're enjoying a quick personal session or hosting a gathering. The RAW 98 special cone has become particularly popular for its balanced capacity that's neither too small nor too large.
Packing Tools and Accessories: Making the Most of Your RAW Cones
RAW Cone Packers and Stuffers
To achieve an even, well-packed cone, RAW offers several tools:
RAW Cone Stuffer: A simple tool to help push material down into the cone
RAW Perfect Cone Maker: Helps create evenly packed cones every time
RAW Cone Packer: A specialized tool designed specifically for tamping down material
These accessories make the filling process easier and more efficient, especially for beginners who might struggle with even packing.
Automated Solutions
For those who fill cones frequently or in larger quantities, RAW offers more advanced options:
RAW Cone Machine: Semi-automated devices that help fill multiple cones quickly
RAW Cone Shooter: Assists in filling cones with precision and speed
These tools are particularly useful for those who prepare multiple cones at once or who want consistent results with minimal effort.
How to Pack RAW Cones: Manual and Machine Methods
Properly packing a RAW cone ensures an even burn and enjoyable experience. Here's a simple process for manual packing:
Hold the cone upright, with the filter end down
Gradually add your ground material into the cone
Gently tap the cone on a flat surface to settle the material
Use a RAW cone packer or similar tool to tamp down the material
Continue adding material and tamping until filled to your preference
Twist the excess paper at the top to seal
For those seeking convenience, RAW cone filling machines offer a more streamlined approach. These devices can fill multiple cones simultaneously with consistent results, making them ideal for regular users or social gatherings.
Purchasing Options: Where to Buy RAW Cones
RAW cones are widely available through various channels:
Smoke shops and specialty stores
Online retailers and the official RAW website
Wholesale options for businesses
When purchasing, consider your needs regarding quantity and frequency of use. RAW cones come in various pack sizes, from single cones to bulk packages containing hundreds. For regular users, purchasing RAW cones in bulk from specialized suppliers can offer significant savings while ensuring you always have fresh cones on hand.
Pricing varies by size and quantity, with specialty or limited edition cones typically commanding a premium. The standard 3-pack of King Size RAW classic cones serves as a good entry point for beginners, while dedicated enthusiasts might prefer the value offered by larger packs.
Maximizing Your RAW Cone Experience: Tips for Enthusiasts
To get the most from your RAW cones, consider these practical tips:
Store unused cones in their original packaging or a sealed container to maintain freshness
Invest in a quality RAW cone holder to protect filled cones until use
For beginners, start with the classic RAW cone before exploring specialty options
Consider a RAW cone maker if you fill cones regularly
Experiment with different sizes to find your personal preference
Whether you're new to RAW products or a long-time enthusiast, understanding the full range of options helps you make informed choices that enhance your experience. From the classic RAW cone to specialized accessories like the RAW cone stuffer, each product is designed with the user's convenience and enjoyment in mind.
By exploring the various types, sizes, and accessories available, you can customize your experience to perfectly suit your preferences and needs. The versatility and natural quality of RAW cones have earned them a dedicated following among those who appreciate thoughtfully designed smoking accessories.
compliance
Understanding Prerolls: Definition, Shelf Life, and Travel Regulations
Table of Contents
What Are Prerolls: Definition and Components
Preroll Shelf Life: Do Prerolls Expire?
Traveling with Prerolls: Can You Fly with Prerolls?
Preroll Varieties and Consumption Methods
Preroll Industry Insights and Consumer Trends
Cannabis consumers seeking convenience often turn to prerolls as a ready-to-use option that eliminates the need for grinding, rolling, and preparation. As the cannabis market expands, prerolls have become increasingly popular among both newcomers and experienced users. This comprehensive guide explores what prerolls are, their shelf life, and important travel considerations.What Are Prerolls: Definition and ComponentsPrerolls, also called pre-rolled joints, are ready-made cannabis cigarettes that contain ground flower wrapped in rolling paper. These convenient products come prepared for immediate consumption, eliminating the need for consumers to handle loose flower or master rolling techniques.A standard preroll consists of three main components:
Ground cannabis flower (sometimes mixed with concentrates)
Rolling paper (typically hemp, rice, or specialty papers)
Filter tip or crutch at the mouthpiece end
Most dispensaries and brands offer prerolls in various sizes, from slim 0.5g options to larger 1g standard sizes and even multi-gram "king size" varieties. According to this guide on preroll weights, the amount of cannabis in a preroll can significantly impact potency and consumption experience.Preroll Shelf Life: Do Prerolls Expire?While prerolls don't technically "expire" in the same way food products do, they certainly degrade over time. The question "do prerolls expire?" is common among consumers concerned about maintaining product quality and potency.Factors Affecting Preroll FreshnessSeveral elements influence how long a preroll maintains optimal quality:
Storage conditions (temperature, humidity, light exposure)
Packaging quality and airtightness
Initial moisture content of the cannabis
Presence of preservatives or humidity control packets
Under ideal storage conditions, prerolls typically maintain peak freshness for 6 months to 1 year. However, even properly stored prerolls will gradually lose potency and flavor as cannabinoids and terpenes degrade through natural oxidation processes.Highlight: Properly stored prerolls can maintain quality for 6-12 months, but will gradually lose potency, flavor, and aroma over time even in optimal conditions.Signs of Degraded PrerollsYou can identify when a preroll has passed its prime by looking for these indicators:
Dry, crumbly texture that causes the preroll to burn too quickly
Musty or hay-like smell replacing the cannabis's natural aroma
Visible mold (white powdery spots or fuzzy growth)
Significantly diminished effects when consumed
For businesses looking to maintain product freshness, high-quality packaging solutions for prerolls can significantly extend shelf life by controlling humidity and preventing air exposure.Traveling with Prerolls: Can You Fly with Prerolls?The question "can you fly with prerolls?" has a complex answer that depends on several factors, including destination, departure point, and applicable laws.Domestic Travel ConsiderationsFor flights within the United States:
TSA focuses primarily on security threats, not finding cannabis
However, TSA agents are required to report cannabis discoveries to local law enforcement
Enforcement varies significantly by departure and arrival locations
Flying between two legal states still violates federal law as cannabis remains federally illegal
According to this detailed guide on flying with prerolls, the safest approach is to avoid traveling with cannabis products across state lines, regardless of the legal status in your origin and destination.International Travel RisksInternational travel with cannabis products, including prerolls, carries significant legal risks:
Many countries impose severe penalties for cannabis possession
Crossing international borders with cannabis is illegal in most jurisdictions
Even medical cannabis patients rarely have protection when traveling internationally
The consensus among legal experts is that international travel with any cannabis product should be avoided entirely due to the serious potential consequences.Preroll Varieties and Consumption MethodsThe preroll market has expanded well beyond basic joints to include numerous specialized products:
Infused prerolls containing concentrates, oils, or kief for enhanced potency
Strain-specific options targeting particular effects or flavor profiles
CBD-dominant prerolls with minimal THC for those seeking therapeutic benefits without intense psychoactive effects
Multi-packs containing smaller "mini" prerolls for microdosing
For consumers curious about what prerolls offer in terms of effects, this resource on preroll effects provides detailed information about what to expect from different varieties.Proper Consumption TechniquesGetting the most from a preroll involves proper lighting and smoking techniques:
Rotate the preroll while lighting to ensure even burning
Take slow, measured draws rather than deep inhales
Tap ash regularly to maintain even combustion
Learn proper extinguishing methods for saving partially consumed prerolls
For those looking to extend their preroll experience, these safe extinguishing methods can help preserve a partially consumed preroll for later use.Preroll Industry Insights and Consumer TrendsThe preroll segment continues to evolve as one of the fastest-growing categories in the cannabis industry. Current trends include:
Premium, artisanal prerolls using high-quality flower and specialized rolling techniques
Eco-friendly packaging solutions addressing sustainability concerns
Innovative filters designed to cool smoke and reduce harshness
Variety packs allowing consumers to sample multiple strains
For consumers interested in exploring quality options, this guide to top preroll brands highlights industry leaders known for consistency and quality.Understanding what prerolls are, their shelf life limitations, and travel regulations helps consumers make informed decisions. Whether you're new to cannabis or a seasoned enthusiast, prerolls offer a convenient consumption method with options to suit virtually any preference or need.
flower
Mastering the RAW Roller: A Step-by-Step Guide
Table of Contents
Benefits of Using RAW Rollers
Preparing Your RAW Roller
Step-by-Step Guide to Using a RAW Roller
Troubleshooting Common Issues
Advanced Techniques for RAW Roller Mastery
Essential Accessories for Your RAW Roller
RAW Roller Innovations and Future Developments
Mastering the RAW Roller: A Step-by-Step GuideLearning how to use a RAW roller effectively can transform your rolling experience, creating perfectly cylindrical rolls every time with minimal effort. Whether you're new to rolling or looking to perfect your technique, this comprehensive guide will walk you through everything you need to know about using a RAW roller.Benefits of Using RAW RollersRAW rollers have gained popularity for several compelling reasons:
Consistency in size and shape
Speed and efficiency compared to hand-rolling
Reduced material waste
Perfect for beginners or those with dexterity issues
Portable and durable design
According to our comprehensive guide to RAW rolling machines, these devices can help even complete beginners achieve professional-quality results on their first attempt.Preparing Your RAW RollerBefore learning how to use the RAW roller, it's important to understand the components:Components of a RAW RollerThe standard RAW roller consists of:
Two rolling aprons (typically made of flexible plastic)
An outer frame that holds the aprons in place
Two rollers that create the cylindrical shape
RAW rollers come in different sizes, typically 70mm, 79mm, and 110mm. The 79mm is the most popular standard size and ideal for beginners. For more information on choosing the right size, check out our guide to RAW roller sizes and options.Highlight: Proper preparation of your materials before using the RAW roller will significantly improve your results and rolling experience.Step-by-Step Guide to Using a RAW RollerFollow these steps to master how to use a RAW roller:Step 1: Position the Roller CorrectlyPlace the RAW roller on a flat surface with the RAW logo facing you. Make sure both aprons are evenly positioned and the rollers move freely when you rotate them.Step 2: Insert the Rolling PaperTake your RAW paper and place it between the two rolling aprons with the gummed edge facing up and away from you. The paper should follow the natural curve of the roller.Step 3: Add Your MaterialEvenly distribute your ground material along the length of the paper. For beginners, it's better to start with a moderate amount rather than overfilling.Step 4: Initial Rolling MotionWith your thumbs positioned on the front roller and your index fingers on the back, gently roll the aprons upward (away from you) to begin shaping your material.Step 5: Tuck and RollOnce your material is evenly distributed, roll both aprons downward (toward you) simultaneously until the paper begins to tuck into the roller. This is the critical moment that determines the tightness of your roll.Step 6: Complete the RollContinue rolling downward until only the gummed edge of the paper is visible. Lightly moisten the gummed edge with your tongue or a small amount of water.Step 7: Seal and FinishRoll completely one more time to seal the moistened edge, then continue rolling in the same direction to eject your perfectly rolled creation.For visual learners, our detailed guide to mastering RAW rolling machines includes helpful diagrams of this process.Troubleshooting Common IssuesEven with the best technique, you might encounter these common problems when learning how to use a RAW roller:Paper Crinkles or TearsThis usually happens when the paper isn't positioned properly or when the rolling motion isn't smooth. Make sure the paper is centered and apply even pressure during rolling.Uneven DistributionIf your material bunches up on one side, try distributing it more evenly before rolling. You can also gently tap the roller on a flat surface to help settle the contents.Too Tight or Too LooseThe tightness is determined during the tucking phase. For a looser roll, apply less pressure when tucking. For a tighter roll, apply more pressure and ensure the material is well-compressed before tucking.Paper Not StickingIf the gummed edge isn't adhering properly, it may not be moist enough or you might be rolling too quickly after moistening. Apply a bit more moisture and roll slowly to allow proper adhesion.Advanced Techniques for RAW Roller MasteryOnce you've mastered the basics of how to use the RAW roller, you can explore these advanced techniques:The Cone ShapeTo create a cone shape, place slightly more material at one end before rolling. This creates a tapered effect that some users prefer.Double RollingFor extra stability or special occasions, you can use two papers together in the roller. This technique requires practice but can create impressive results.Filter Tips IntegrationAdding a filter tip (also called a crutch or tip) can improve structural integrity and provide a better experience. Place the filter at one end of the paper before adding your material and rolling as normal.For more advanced techniques, our guide to automatic and manual RAW rolling techniques offers expert insights.Essential Accessories for Your RAW RollerEnhance your RAW roller experience with these accessories:
RAW filter tips for improved structure and experience
RAW hemp plastic grinder for consistent material preparation
RAW bamboo rolling tray to keep your workspace organized
RAW pre-rolled cones for times when you need a quick alternative
We also offer premium Hara Cones in our collection that provide an excellent alternative when you don't have time to use your roller but still want quality results.RAW Roller Innovations and Future DevelopmentsThe world of rolling technology continues to evolve with new innovations. RAW has expanded their roller lineup to include automatic rollers that further simplify the process. These advanced machines handle much of the manual work, making rolling even more accessible to everyone.As sustainability becomes increasingly important, RAW continues to focus on eco-friendly materials and manufacturing processes. Their commitment to natural, unrefined products extends to their rolling accessories, including the rollers themselves.Whether you're just learning how to use a RAW roller or you're looking to refine your technique, the key is practice and patience. With time, using your RAW roller will become second nature, providing you with perfectly rolled results every time.