


Table of Contents
- Materials Needed for Filling Pre-Rolled Cones
- Preparation Steps for Perfect Cone Filling
- The Proper Filling Technique for RAW Cones
- Packing Methods for Even Burning
- Troubleshooting Common Issues When Filling Cones
- Finishing Touches for Professional-Looking Pre-Rolls
- Expert Tips for Consistently Perfect Hand-Filled Cones
Mastering how to fill a cone pre roll by hand is an essential skill for both personal enjoyment and small-scale production. Pre-rolled cones offer convenience while still allowing for customization of your smoking experience. This comprehensive guide walks through every step of filling cones properly, ensuring even burns and satisfying sessions.
Materials Needed for Filling Pre-Rolled Cones
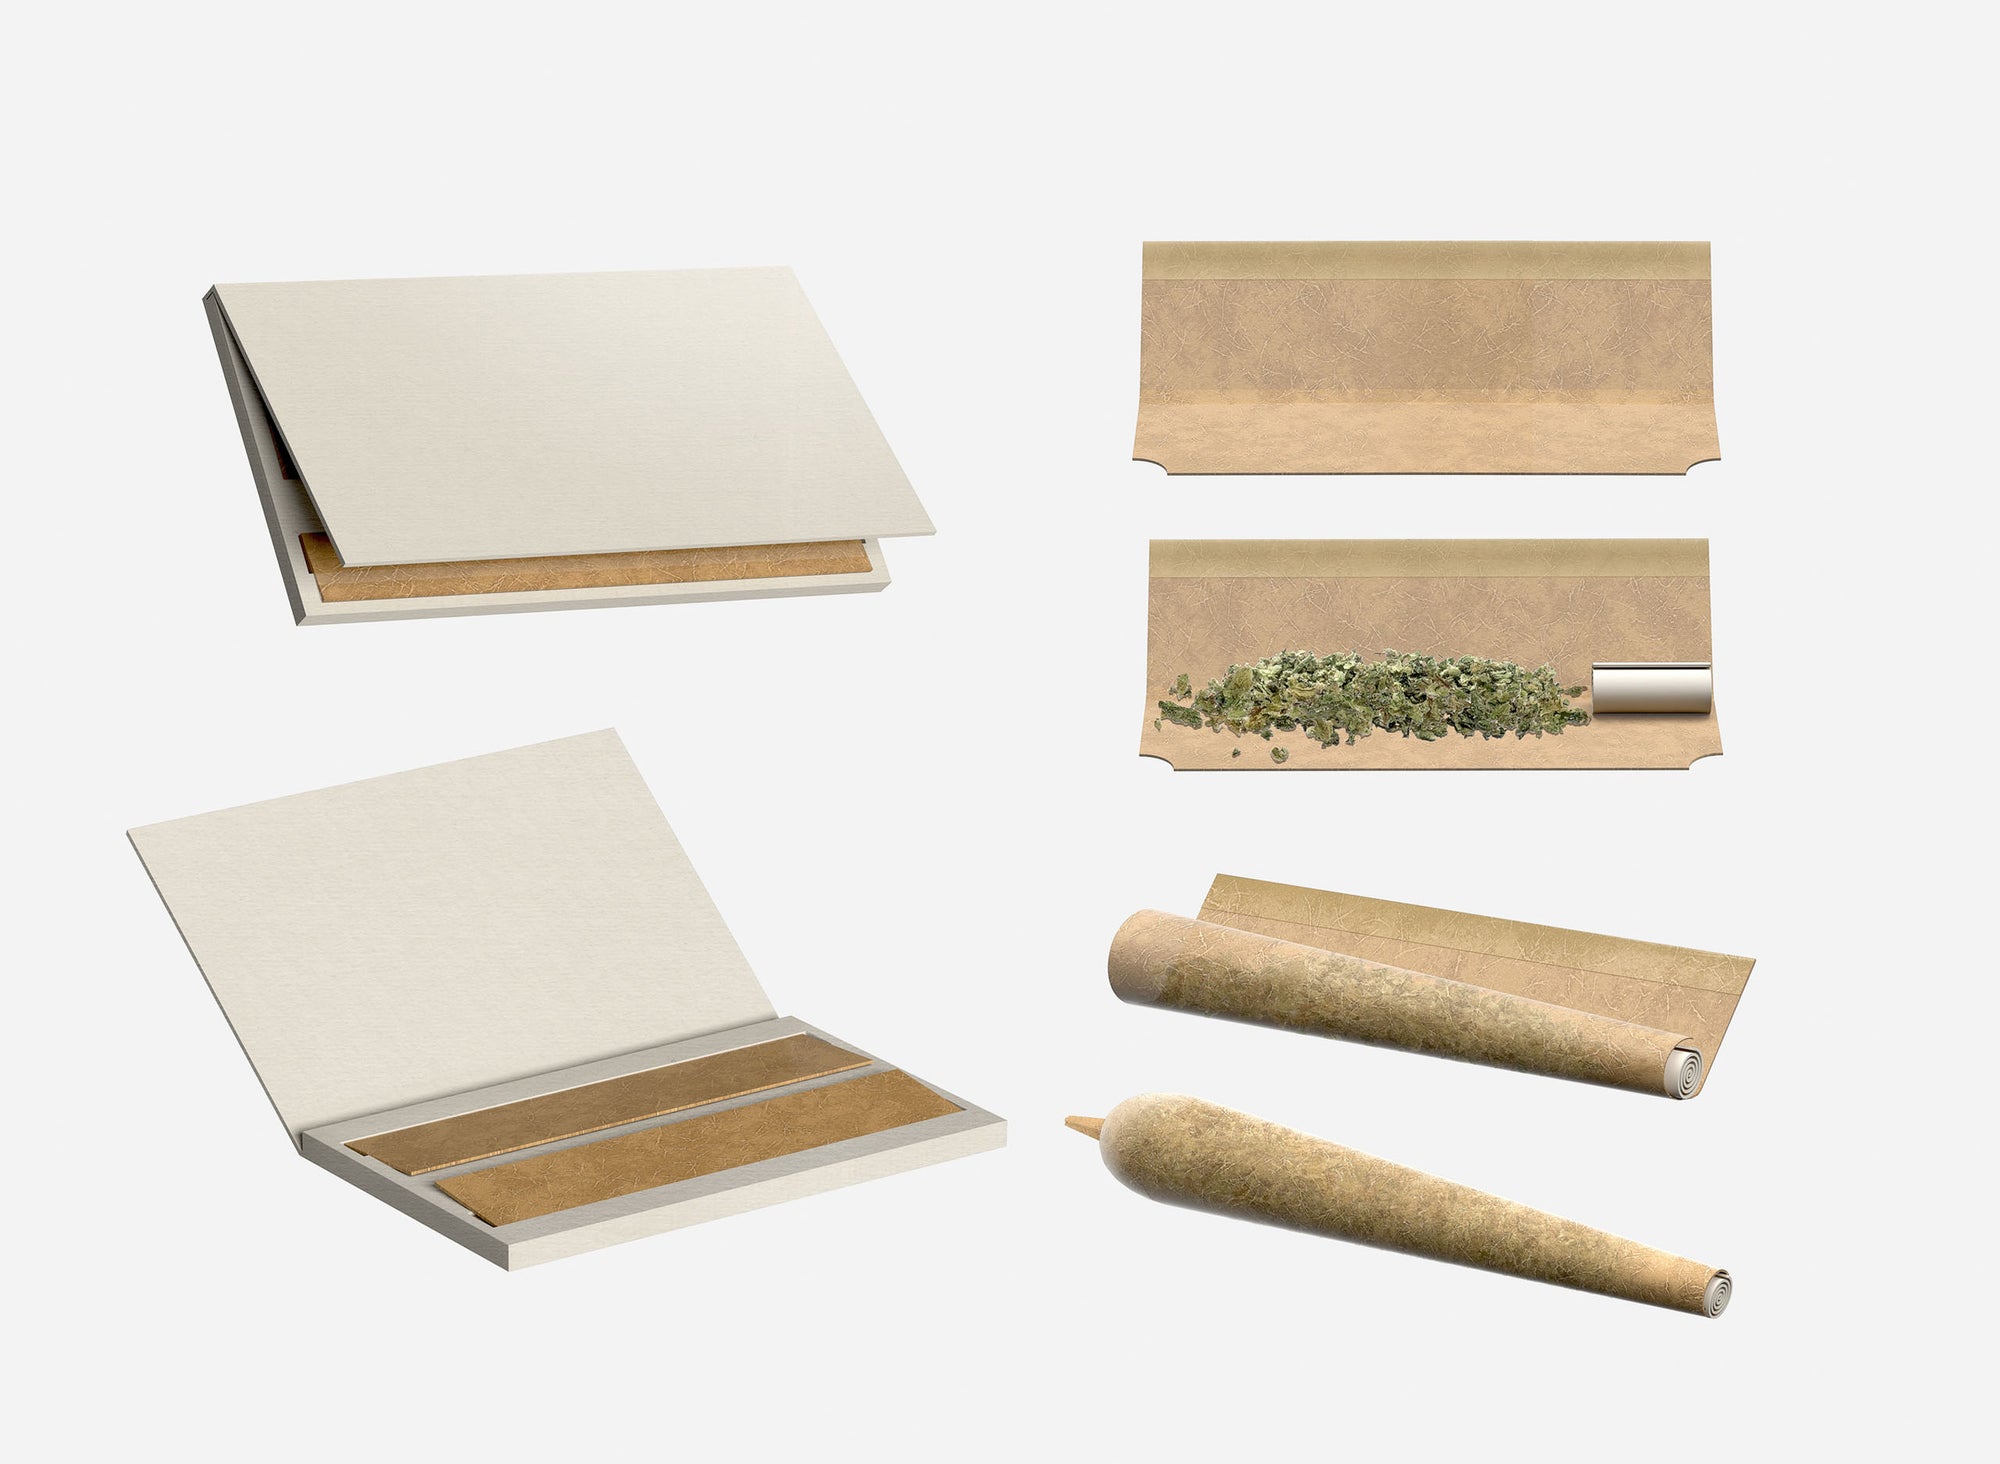
Before learning how to fill RAW cones or any pre-rolled cone, gather these essential supplies:
- Pre-rolled cones (RAW, Elements, or your preferred brand)
- Ground flower material
- Grinder (manual or electric)
- Packing tool (often included with cone purchases)
- Small funnel (optional but helpful)
- Clean, flat work surface
- Small container to hold ground material
Quality grinding equipment makes a significant difference in how evenly your cones will burn. For consistent results, many producers use commercial-grade grinder machines that produce uniformly ground material, though a good hand grinder works well for personal use.
Preparation Steps for Perfect Cone Filling
Grinding Your Material
The consistency of your ground material directly impacts how well your cone burns. When learning how to fill a cone pre roll by hand, proper grinding is crucial:
- Aim for a medium grind, not too fine or too coarse
- Remove any stems or seeds before grinding
- Grind in small batches for consistency
- Allow freshly ground material to air for a few minutes (prevents moisture issues)
As detailed in this guide on mastering cone packing, proper material preparation sets the foundation for a well-burning cone.
The Proper Filling Technique for RAW Cones
When learning how to fill RAW cones or similar products, the technique matters as much as the material:
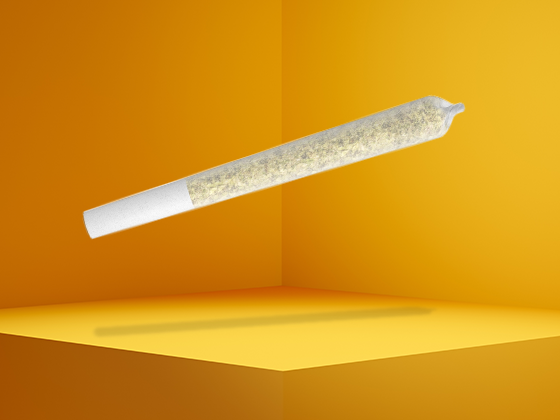
Step 1: Prepare Your Cone
Hold your empty cone gently by the filter/crutch end with the open end facing up. Lightly tap or shake it to ensure the paper is fully expanded and ready for filling.
Step 2: Create a Filling Station
Place your ground material in a small container that allows easy pinching or scooping. If using a funnel, position it in the cone's open end.
Step 3: Begin the Fill
Gradually add material to the cone, either pinching small amounts and dropping them in or using the funnel. As explained in this complete cone filling guide, patience during this step prevents uneven packing.
Packing Methods for Even Burning
Proper packing is essential when mastering how to fill cones:
The Tap Method
After adding a small amount of material, gently tap the cone filter-end down on your work surface. This naturally settles the material without overpacking.
The Tool Method
Use the packing tool that often comes with RAW cones to gently press down after adding each small portion of material. When learning how to fill a RAW cone by hand, remember to apply consistent, light pressure.
The Progressive Pack
For optimal burning, pack the material more loosely near the filter and progressively tighter toward the tip. This technique, recommended in this guide to understanding RAW cones, ensures smooth airflow and even burning.
Troubleshooting Common Issues When Filling Cones
Even experienced users encounter challenges when learning how to fill pre rolled cones:
Canoeing (Uneven Burning)
Caused by uneven packing. Solution: Use the packing tool to redistribute material, ensuring no air pockets remain.
Too Tight (Restricted Airflow)
If you've packed too tightly, gently roll the cone between your fingers to loosen the material slightly.
Material Spillage
For those struggling with spillage while learning how to fill a cone, consider investing in a cone-filling station or using specialized cone filling equipment for cleaner results.
Finishing Touches for Professional-Looking Pre-Rolls
Once you've mastered how to fill RAW cones, these finishing steps create a polished final product:
- Gently twist the excess paper at the top to seal
- For immediate use, fold rather than twist for easier lighting
- Lightly compress the twisted end for storage stability
- For presentation, trim any excess paper with scissors
As noted in this guide to pre-rolled cones and accessories, these finishing details make the difference between amateur and professional-looking results.
Expert Tips for Consistently Perfect Hand-Filled Cones
After mastering the basics of how to fill a cone pre roll by hand, these advanced techniques will elevate your results:
- Maintain consistent humidity levels for your material (62-65% is ideal)
- Consider layering different varieties for custom effects
- For production efficiency, prepare all your ground material before starting
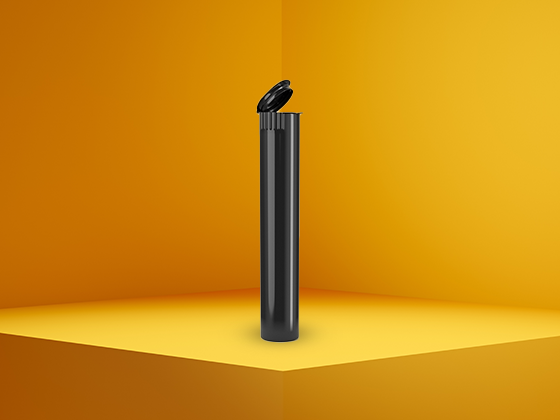
- Store filled cones in airtight containers to preserve freshness
- Practice with different cone sizes to find your preference
Remember that filling pre-rolled cones by hand is both an art and a science. With practice and attention to detail, you'll develop your own signature technique for creating perfectly filled cones every time.