

Table of Contents
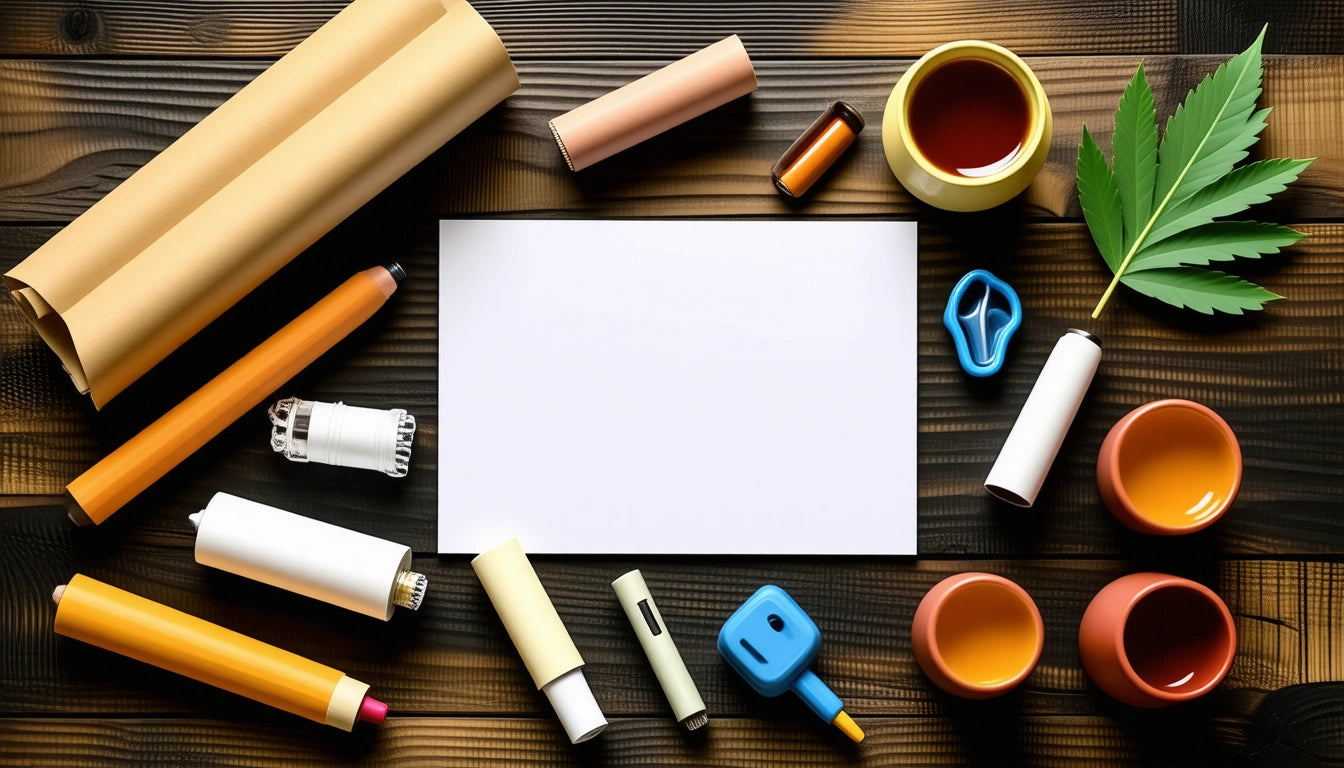
Joints remain one of the most popular and convenient methods of cannabis consumption. Whether you're a seasoned smoker or new to the experience, understanding how to properly smoke, preserve, and troubleshoot joints can significantly enhance your enjoyment and help conserve your cannabis. This guide covers essential techniques for getting the most out of your joints, including how to hit a joint properly, how to put out a joint for later use, and solutions for common problems.
Proper Joint Smoking Techniques
Smoking a joint effectively involves more than simply lighting up and inhaling. Proper technique ensures an even burn, better flavor, and a more enjoyable experience overall.
How to Hit a Joint Properly
To hit a joint effectively, follow these steps:
- Hold the joint between your thumb and index finger near the crutch or filter
- Bring it to your lips and create a gentle seal, but don't make it wet with saliva
- Take a slow, steady pull rather than a sharp inhale
- Hold the smoke briefly (2-3 seconds is sufficient) before exhaling
- Rotate the joint between hits to promote even burning
According to comprehensive joint smoking guides, proper inhalation technique prevents canoeing (uneven burning) and maximizes the effects of your cannabis.
Lighting Techniques
The way you light your joint affects how it burns throughout your session:
- Toast the tip evenly by rotating it above the flame, not directly in it
- Once toasted, take gentle pulls while continuing to rotate
- Avoid using torch lighters which can burn too hot
- If using hemp wick, light it first, then use it to light your joint for a cleaner taste
These techniques help establish an even cherry (the burning ember at the tip) that will lead to a smoother smoking experience.
How to Put Out a Joint for Later
Knowing how to properly extinguish a joint for later use helps preserve both the cannabis and the flavor profile. Here are the best methods for putting out a joint:
The Gentle Tap Method
This is the most common and effective approach:
- Gently tap the burning end against a hard, non-flammable surface
- Carefully twist the burnt end to remove loose ash
- Continue tapping and twisting until no more embers remain
- Check that it's fully extinguished by observing for any smoke
This method preserves most of the joint while minimizing damage to the paper.
The Cover Method
For those looking for the best way to put out a joint with minimal damage:
- Place the burning end against a metal surface
- Cover it with a small metal container or ashtray to cut off oxygen
- Wait 30-60 seconds for it to naturally extinguish
- Check that it's fully out before storage
This approach is gentler than the tapping method and helps preserve more of the joint's structure.
For precise measurement of how much cannabis remains in your partially used joint, accurate digital scales can be helpful for tracking consumption and ensuring you're getting the most value from your products.
Troubleshooting Common Joint Issues
Even well-rolled joints can present problems. Here are solutions to common issues:
Why Is My Joint Not Pulling?
Poor airflow is a common complaint. If your joint is not pulling properly, consider these causes and solutions:
- Overpacking: The cannabis may be too tightly packed. Try gently rolling the joint between your fingers to loosen the contents
- Clogged filter: Small particles may be blocking the filter. Try clearing it with a thin tool or replacing it if possible
- Collapsed paper: The rolling paper may have folded or creased. Sometimes this requires rerolling
- Moisture issues: Damp cannabis can restrict airflow. Always ensure your flower is properly cured
According to expert rolling guides, proper grinding consistency and even distribution are key to preventing airflow issues.
Fixing Uneven Burns
If your joint is burning unevenly (canoeing):
- Wet your finger slightly and dampen the faster-burning side
- Rotate the joint so the faster-burning side is on the bottom
- Take slower, more deliberate pulls
- If necessary, relight the joint focusing on the unlit portions
Properly closing a joint during rolling can help prevent these issues before they start.
Storage Solutions for Preserving Joints
After learning how to put a joint out, proper storage becomes essential for maintaining freshness and potency.
Short-Term Storage Options
For joints you plan to consume within a few days:
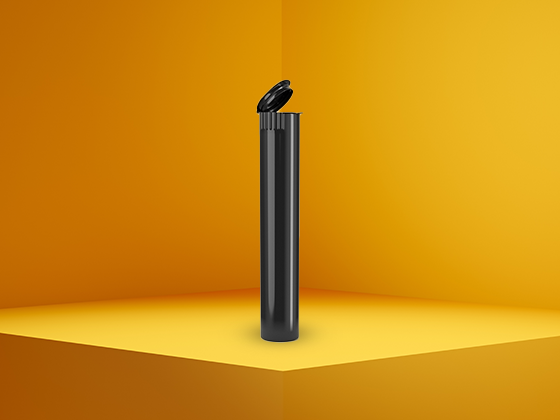
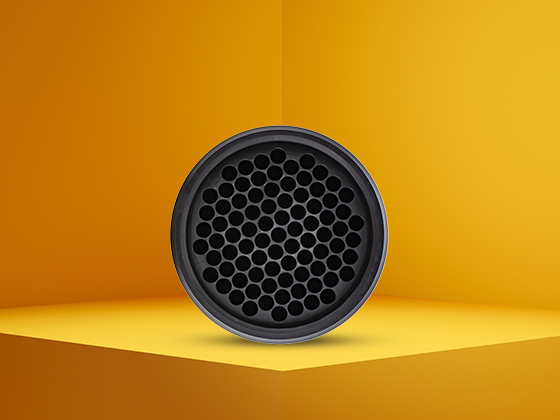
- Doob tubes: Plastic or glass tubes designed specifically for joints
- Repurposed containers: Small mint tins or prescription bottles can work in a pinch
- Joint cases: Specialized cases with individual slots for multiple joints
Proper joint storage techniques emphasize protection from air, light, and physical damage.
Long-Term Preservation
For extended storage periods:
- Use airtight containers with humidity control packs
- Store in a cool, dark place away from direct sunlight
- Consider vacuum-sealed options for maximum freshness
- Label with dates to track freshness
These methods help preserve terpenes and cannabinoids, maintaining the quality of your joints over time.
Maximizing Your Joint Experience
Beyond the basics of how to hit a joint and how to turn off a joint, there are additional techniques to enhance your overall experience:
- Proper grinding: Consistent, medium-fine grinding provides optimal burning
- Quality papers: Invest in slow-burning, thin papers for better flavor
- Humidity control: Too dry cannabis burns too quickly, while too moist cannabis burns poorly
- Mindful consumption: Take breaks between hits to gauge effects and prevent waste
According to advanced rolling technique guides, these small adjustments can significantly improve your joint experience.
Whether you're learning how to close a joint properly during rolling or figuring out the best way to put out a joint for later enjoyment, these techniques will help you get the most from your cannabis. With practice, proper joint handling becomes second nature, allowing you to focus on enjoying the experience rather than troubleshooting problems.