


Table of Contents
Learning how to make cones out of paper is a valuable skill for both recreational and practical purposes. Whether you're looking to create a vehicle for your favorite herbs or simply want to master a useful paper-folding technique, this comprehensive guide will walk you through the process from start to finish.
Materials Needed for Crafting Paper Cones
Before diving into the rolling process, gathering the right materials is essential for success:
- Rolling papers (preferably thin and flexible)
- Filter tips or thin cardboard for creating crutches
- Scissors for trimming
- A pen or pencil for shaping (optional)
- A flat, clean surface for rolling
- Patience and steady hands
The quality of your materials directly impacts the final product. While specialized rolling papers are ideal, in a pinch, thin printer paper can work for practicing the technique. For those looking to store their herbs after rolling, quality container lids and caps can help maintain freshness and comply with storage regulations.
Basic Cone Rolling Technique
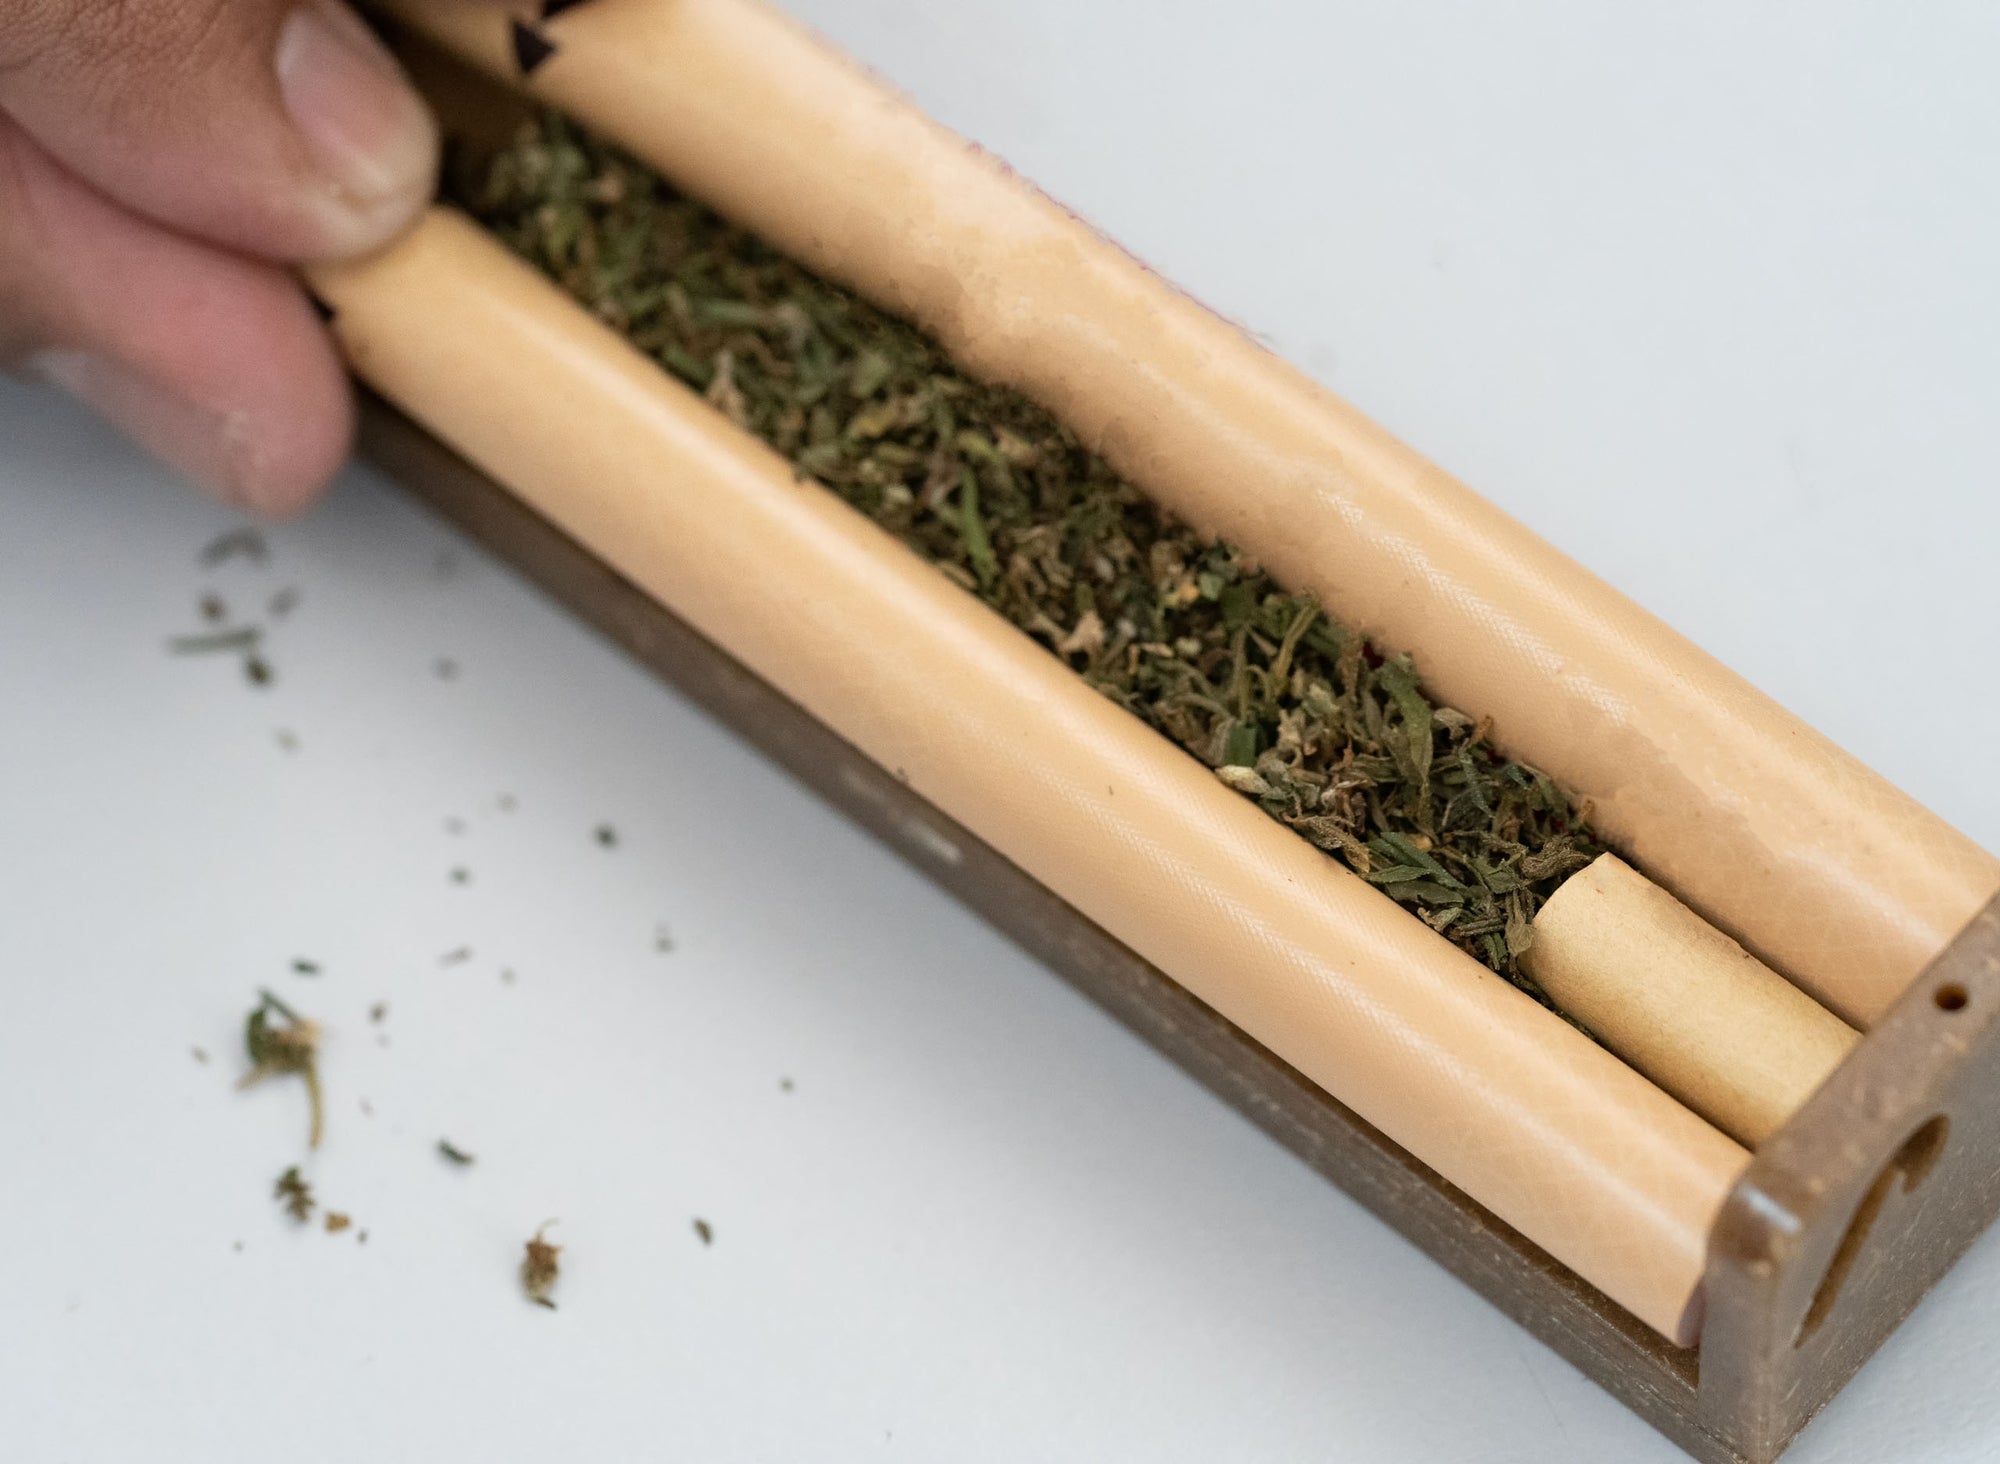
Step 1: Prepare Your Filter Tip
Start by creating a filter tip (also called a crutch or tip):
- Take a small piece of thin cardboard or a filter tip
- Fold a small portion back and forth in an accordion pattern
- Roll the remaining cardboard around this accordion section
- This creates a W or M shape inside a circle that prevents material from passing through
Step 2: Position Your Paper
Place your rolling paper on a flat surface with the adhesive strip facing up and positioned away from you (typically along the top edge).
Step 3: Form the Cone Shape
This is the critical step in learning how to roll a cone out of paper:
- Place your filter tip at one end of the paper
- Hold the paper between your thumb and index finger of both hands
- Begin rolling the non-adhesive side into the adhesive side
- Create a gradual taper by positioning your fingers at slightly different heights
- The end with the filter should be narrower than the opposite end
As noted in our guide on mastering cone spliffs, the taper should be gradual and even for optimal results.
Advanced Techniques for Perfect Cones
The Pencil Method
For beginners struggling with hand-rolling:
- Wrap your paper around a pencil or pen with the adhesive strip facing inward
- Start with the pencil tip slightly exposed at the narrow end
- Lick the adhesive strip and seal the cone
- Carefully slide the cone off the pencil
- Insert your filter at the narrow end
The Fold-and-Roll Method
This technique offers more control:
- Fold your paper in half lengthwise (without creasing firmly)
- Place your filter at one end
- Roll from the filter end, gradually creating a widening cone shape
- Lick and seal when the shape is perfect
According to our complete guide on using and filling cones, this method provides excellent control over the cone's angle and taper.
Troubleshooting Common Issues
Even experienced rollers encounter challenges. Here's how to address common problems:
Cone Too Loose
- Use more pressure when rolling
- Try using a smaller piece of paper
- Consider double-wrapping for additional structure
Uneven Burning
- Ensure your cone is evenly packed
- Check for air pockets and eliminate them
- Make sure the paper is evenly moistened when sealing
Filter Falls Out
- Make the filter slightly larger
- Ensure it's tightly secured in the narrow end
- Consider using a filter with slight expansion properties
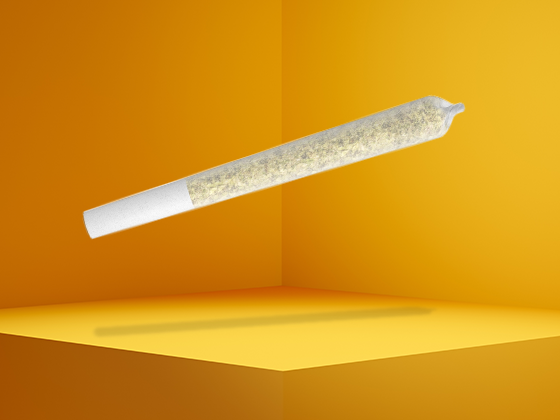
Filling Your Handcrafted Cones
Once you've mastered how to make cones out of paper, filling them properly is equally important:
- Hold the cone vertically with the wider opening facing up
- Use a small funnel or card to guide material into the cone
- Tap gently to settle material as you fill
- Use a packing tool to ensure even density
- Avoid overpacking, which restricts airflow
For detailed instructions on filling techniques, refer to our step-by-step guide to filling pre-rolled cones.
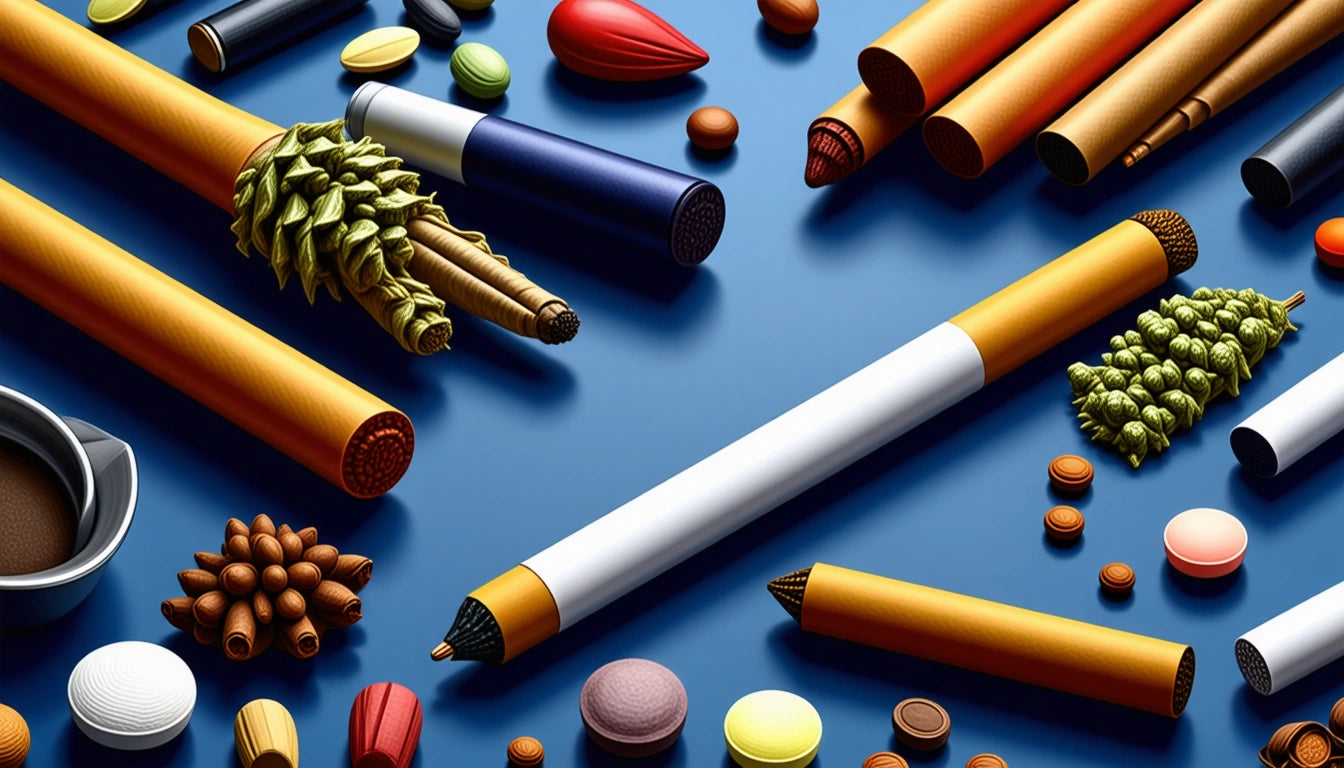
Paper Alternatives and Considerations
While learning how to roll a cone out of paper typically involves rolling papers, other options exist:
- Hemp papers: Eco-friendly with minimal processing
- Rice papers: Ultra-thin for minimal paper taste
- Flavored papers: Add subtle taste notes
- Organic papers: Free from chemicals and bleaching agents
Each material affects burn rate, flavor, and structural integrity. Experiment to find your preference, as suggested in our guide to the best pre-rolled cones and accessories.
Mastering the Cone Craft: Practice Makes Perfect
Becoming proficient at making paper cones requires practice and patience. Start with larger papers which are easier to manipulate, then progress to standard sizes as your skills improve. Remember that even experienced rollers occasionally produce imperfect cones.
For those who prefer convenience, pre-rolled cones are widely available. However, learning how to make cones out of paper is a skill that offers customization options and satisfaction that pre-made alternatives can't match.
Whether you're crafting cones for personal use or sharing your skills with friends, the techniques outlined in this guide provide a foundation for creating perfect paper cones every time. With practice, your fingers will develop muscle memory, making the process increasingly intuitive and enjoyable.