


Table of Contents
Pre-rolled cones have revolutionized the smoking experience, offering convenience and consistency without requiring advanced rolling skills. Whether you're new to using cones or looking to perfect your technique, this comprehensive guide covers everything from selecting the right materials to mastering the art of filling for an optimal experience.
Understanding Cones: Types and Materials
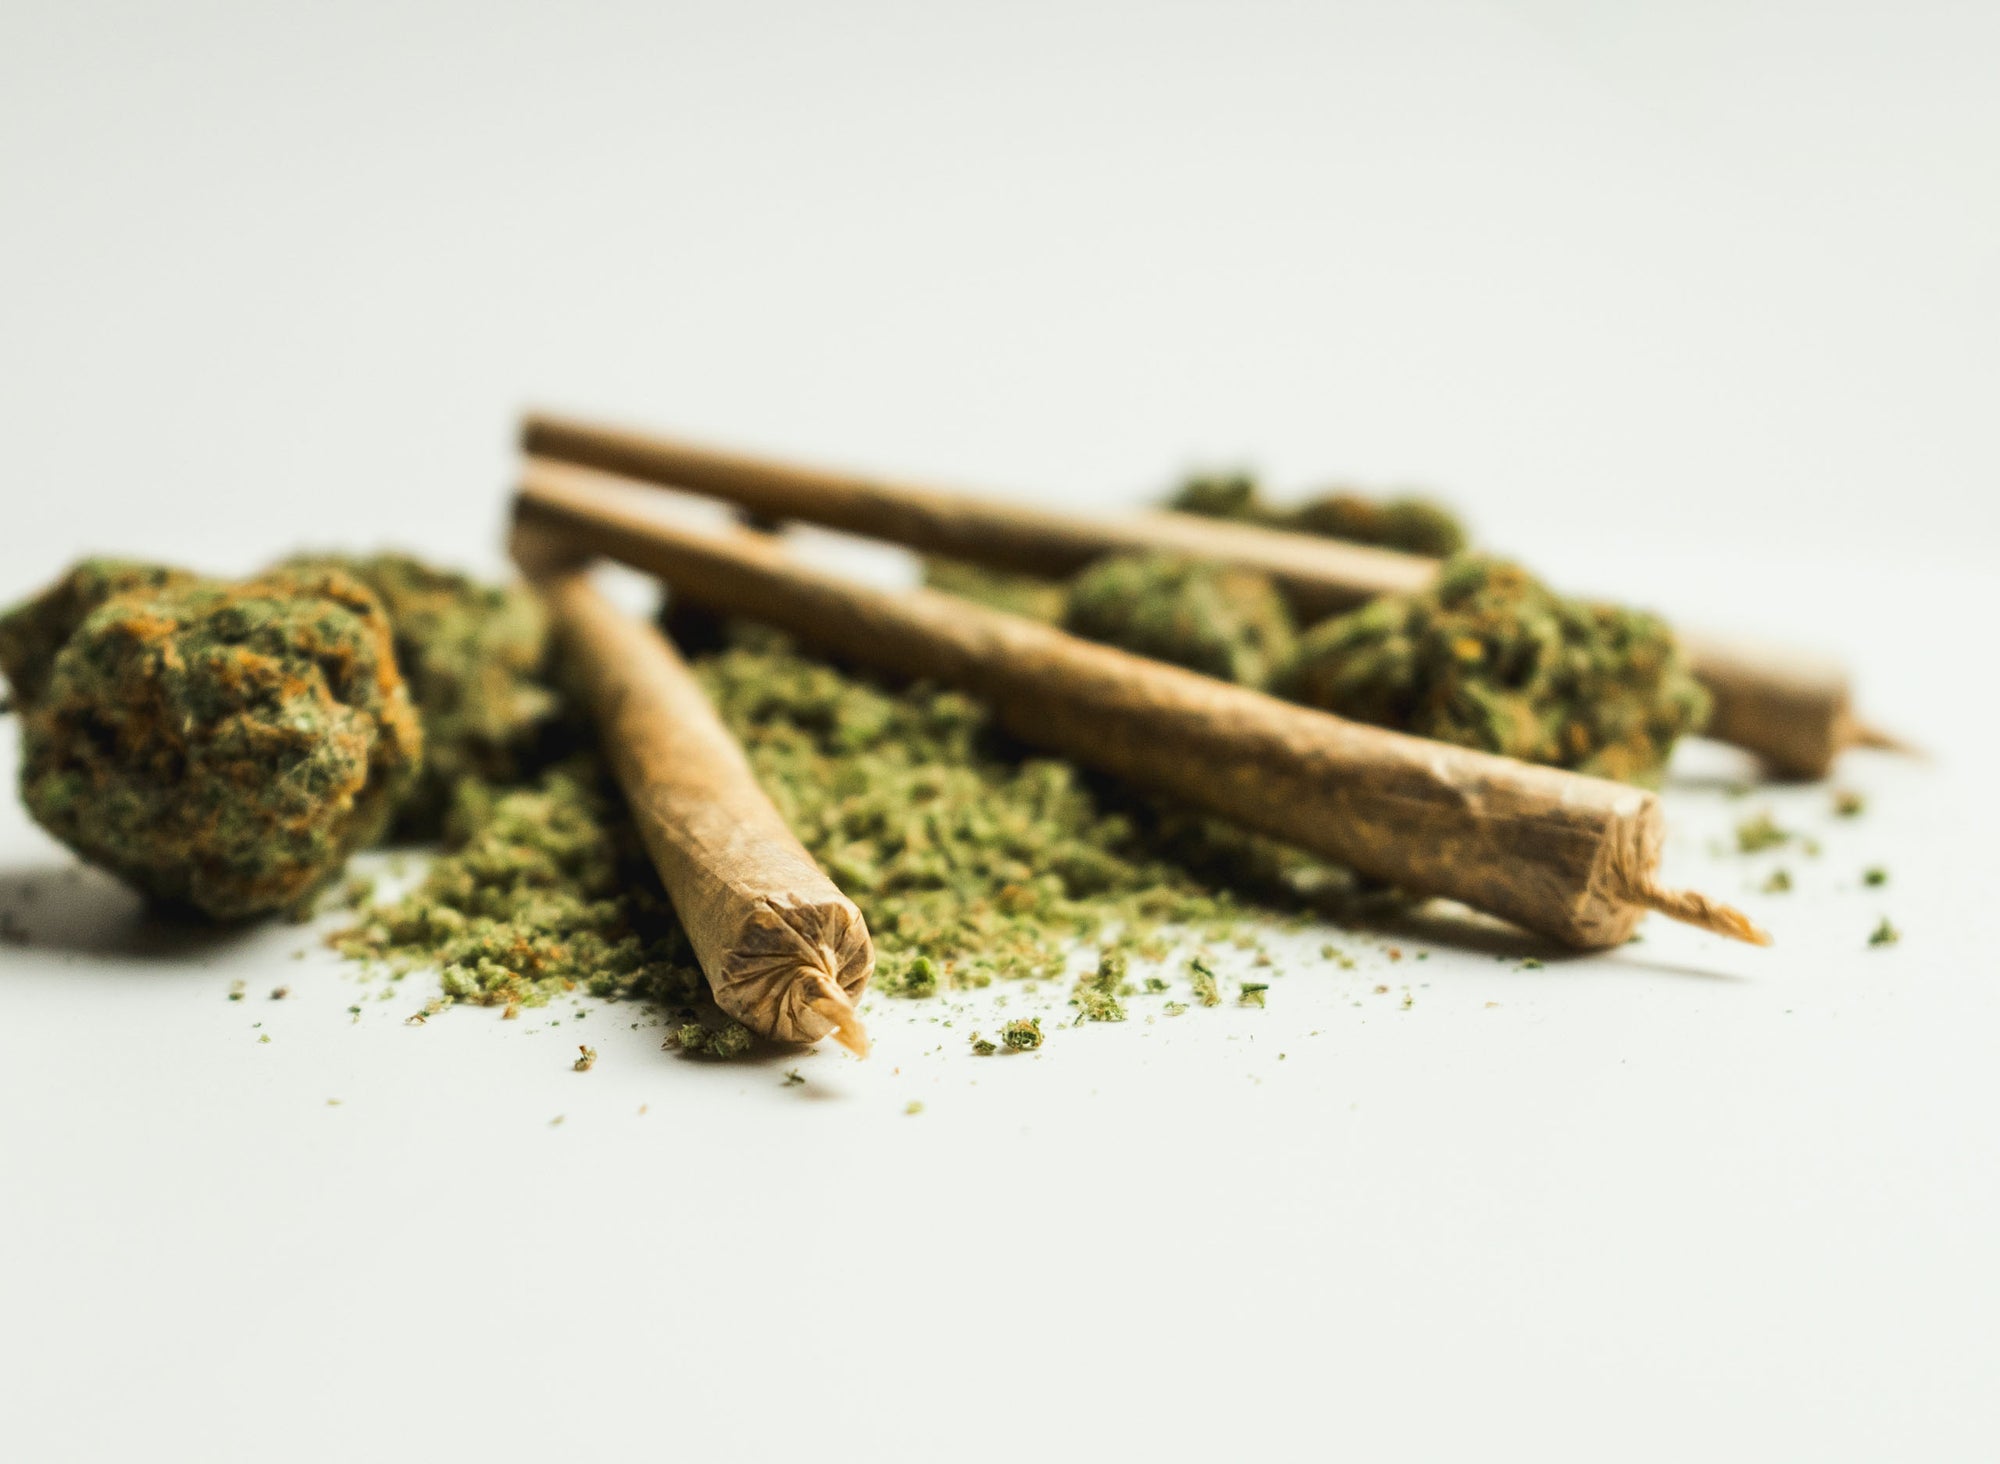
Cones come in various materials, sizes, and styles to suit different preferences. The most common types include:
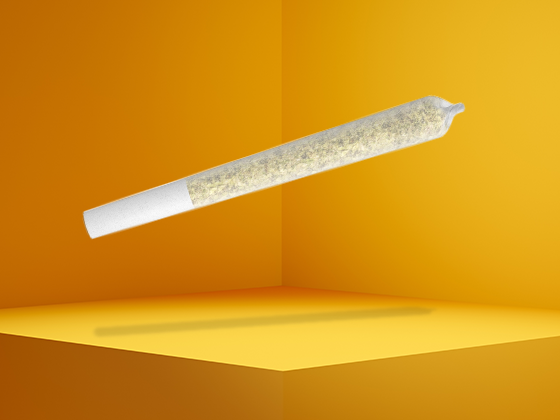
- Paper Cones: Traditional paper cones like those from RAW, Elements, and OCB are made from thin rolling papers pre-formed into a conical shape. RAW cones are particularly popular for their natural, unrefined materials.
- Hemp Cones: Made from hemp fibers, these offer a natural alternative that some users prefer for their slower burn and subtle flavor. Hemp cones are becoming increasingly popular among those seeking plant-based options.
- Flavored Cones: These come infused with various flavors to enhance the smoking experience.
- Specialty Cones: Including transparent cellulose cones, king-sized options, and novelty shapes for special occasions.
Most pre-rolled cones include a filter tip (also called a crutch) already attached to the narrow end, making them ready to fill and enjoy.
Essential Supplies for Filling Cones
Before learning how to stuff a cone properly, gather these essential supplies:
- Pre-rolled cones in your preferred size and material
- Grinder for consistent texture
- Packing tool or tamper (often included with cone purchases)
- Clean, flat surface for working
- Small funnel (optional but helpful for beginners)
- Storage container for finished cones
For those looking to store their finished products, high-quality mylar storage bags provide excellent protection against moisture and help preserve freshness, especially for preparing multiple cones in advance.
Step-by-Step Guide to Filling Cones
Learning how to use cones effectively involves mastering the filling technique. Follow these steps for optimal results:
1. Prepare Your Material
Grind your flower to a medium consistency. Too fine and it might burn too quickly; too coarse and it won't burn evenly. Aim for a balanced texture that allows proper airflow while maintaining an even burn.
2. Hold the Cone Properly
Hold the cone vertically with the filter tip at the bottom, opening facing up. Some users prefer to use a cone filling station to keep the cone stable during filling.
3. Add Material Gradually
Sprinkle ground material into the cone gradually rather than dumping it all at once. This allows for better control over the packing density.
4. Tap and Pack
Gently tap the cone against a surface to settle the material naturally. Use a packing tool to press down lightly after adding each layer. The goal is uniform density throughout.
5. Fill to Desired Level
Continue adding material until you reach about 1/4 inch from the top. This space allows for proper closure without spilling.
6. Twist and Seal
Twist the open end of the cone to seal it securely. Don't twist too tightly as this can restrict airflow at the burning end.
For visual learners, detailed guides with images can be particularly helpful in mastering this technique.
How to Use Blazy Susan Cones
Blazy Susan cones have gained popularity for their distinctive pink color and quality construction. Here's how to use Blazy Susan cones effectively:
- Loading the Cone: Blazy Susan cones feature a wider opening, making them easier to fill without a funnel.
- Using the Filling Tray: Many Blazy Susan products come with a filling tray designed specifically for their cones, which helps maintain stability during the filling process.
- Packing Technique: These cones work best with a gentle packing approach. Use the provided packing tool to lightly compress after each addition rather than firmly packing all at once.
The pink color isn't just for aesthetics; it also makes it easier to see the burning line as you smoke, helping to maintain an even burn.
Common Mistakes When Filling Cones
Even experienced users can make these common errors when learning how to stuff a cone:
- Overpacking: Creating a cone that's too densely packed restricts airflow and leads to an uneven burn or frequent relighting.
- Underpacking: Too loosely packed cones burn quickly and unevenly, often resulting in wasted material.
- Uneven Distribution: Concentrating material in certain sections creates "canoes" where one side burns faster than the other.
- Damaging the Paper: Rough handling can tear the delicate paper, ruining the cone before it's even used.
- Ignoring the Filter: Not ensuring the filter is properly seated can lead to material falling through or poor airflow.
Avoiding these pitfalls comes with practice and attention to detail during the filling process.
Advanced Techniques for Perfect Cones
Once you've mastered the basics of how to cone, consider these advanced techniques:
Layering Different Varieties
Create a unique experience by layering different strains within the same cone, allowing for a progression of flavors and effects.
Adding Concentrates
For increased potency, carefully add small amounts of concentrate between layers of flower. This requires careful attention to ensure even burning.
Using a Cone Filling Machine
For those regularly filling multiple cones, investing in a filling machine can save time and ensure consistency. These devices hold multiple cones and allow for simultaneous filling.
Advanced users often experiment with specialized techniques to customize their experience further.
Storage Recommendations for Filled Cones
Properly storing filled cones preserves their freshness and prevents damage:
- Store in airtight containers to maintain freshness
- Keep away from direct sunlight to prevent degradation
- Avoid excessive heat or humidity which can damage both the cone and contents
- Consider using doob tubes for individual cones when traveling
- For bulk storage, specialized cone storage solutions offer protection while keeping cones organized
With proper storage, pre-filled cones can maintain their quality for weeks, making them perfect for preparation in advance of special occasions or for personal convenience.